

What you’ll build
A Sarvam voice agent live on an Indian phone number, handling outbound campaigns and inbound calls. Everything happens inside the Sarvam platform: number provisioning, KYC, and call delivery all run on Vobiz behind the scenes.No separate Vobiz account, API keys, or SIP configuration required. On the Rent from Sarvam path, Vobiz is embedded in the Sarvam platform. Numbers are billed through your Sarvam Credits, and the only Vobiz screen you see is the hosted KYC flow that Indian regulation requires.
Two ways to get telephony
Sarvam offers two telephony paths, and Vobiz supports both.
This guide walks through Rent from Sarvam end to end, then covers connecting a Vobiz account you already have.
Prerequisites
- Sarvam account → Sign up at platform.sarvam.ai
- Sarvam Credits on your account, enough to cover the number’s monthly fee
- KYC documents for an Indian phone number - PAN plus Aadhaar if you’re an individual, or company PAN plus GST if you’re a business
Step-by-step setup
1
Build a voice agent
Log in to the Sarvam platform and open the Voice Agents section from the left rail.Under Build, go to Agents and create your agent - prompt, voice, language, and any knowledge base it should draw on. Once it’s ready, the home screen shows Your agent is ready to deploy.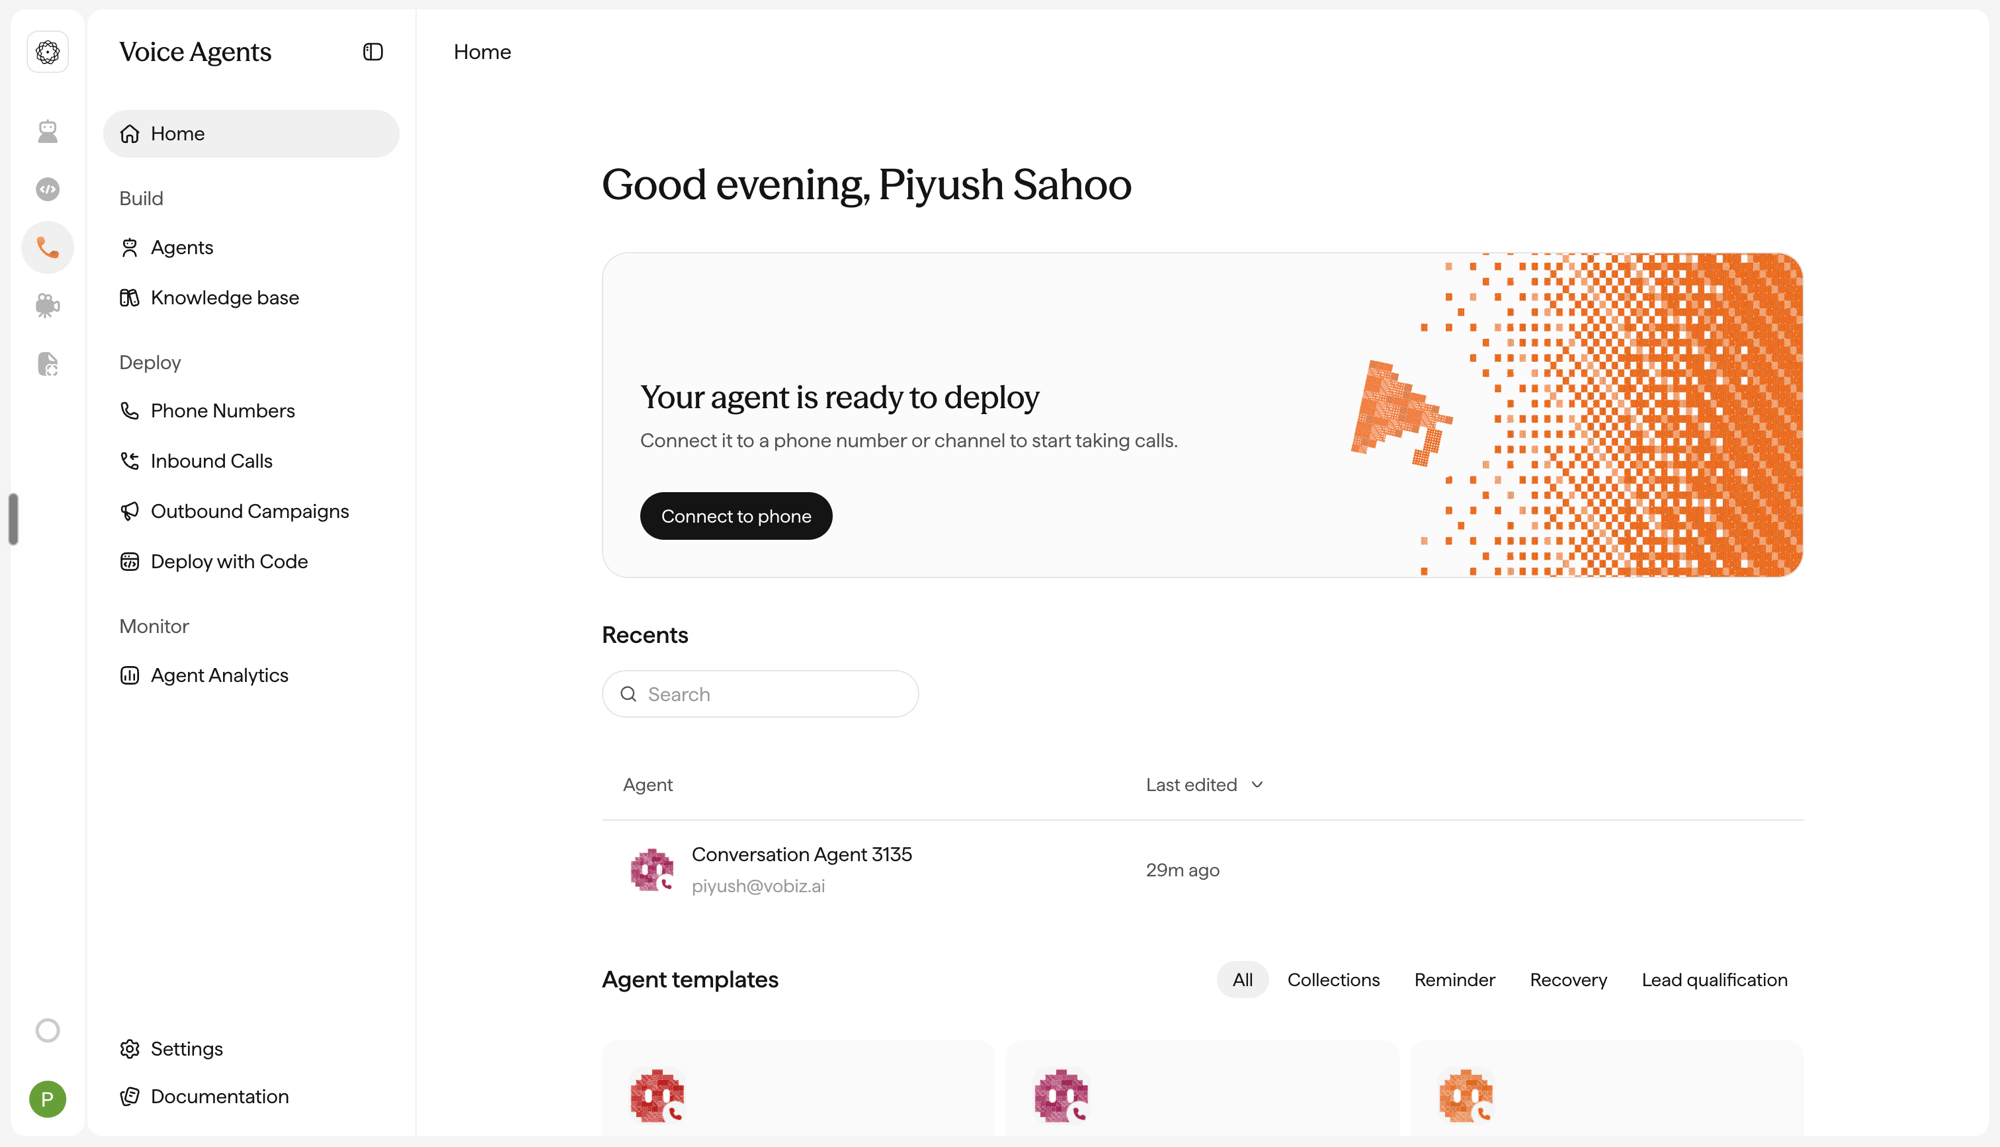
2
Open the telephony section
Under Deploy, click Phone Numbers - or go straight to platform.sarvam.ai/samvaad/deploy/telephony.The Take your agent live screen presents both telephony options.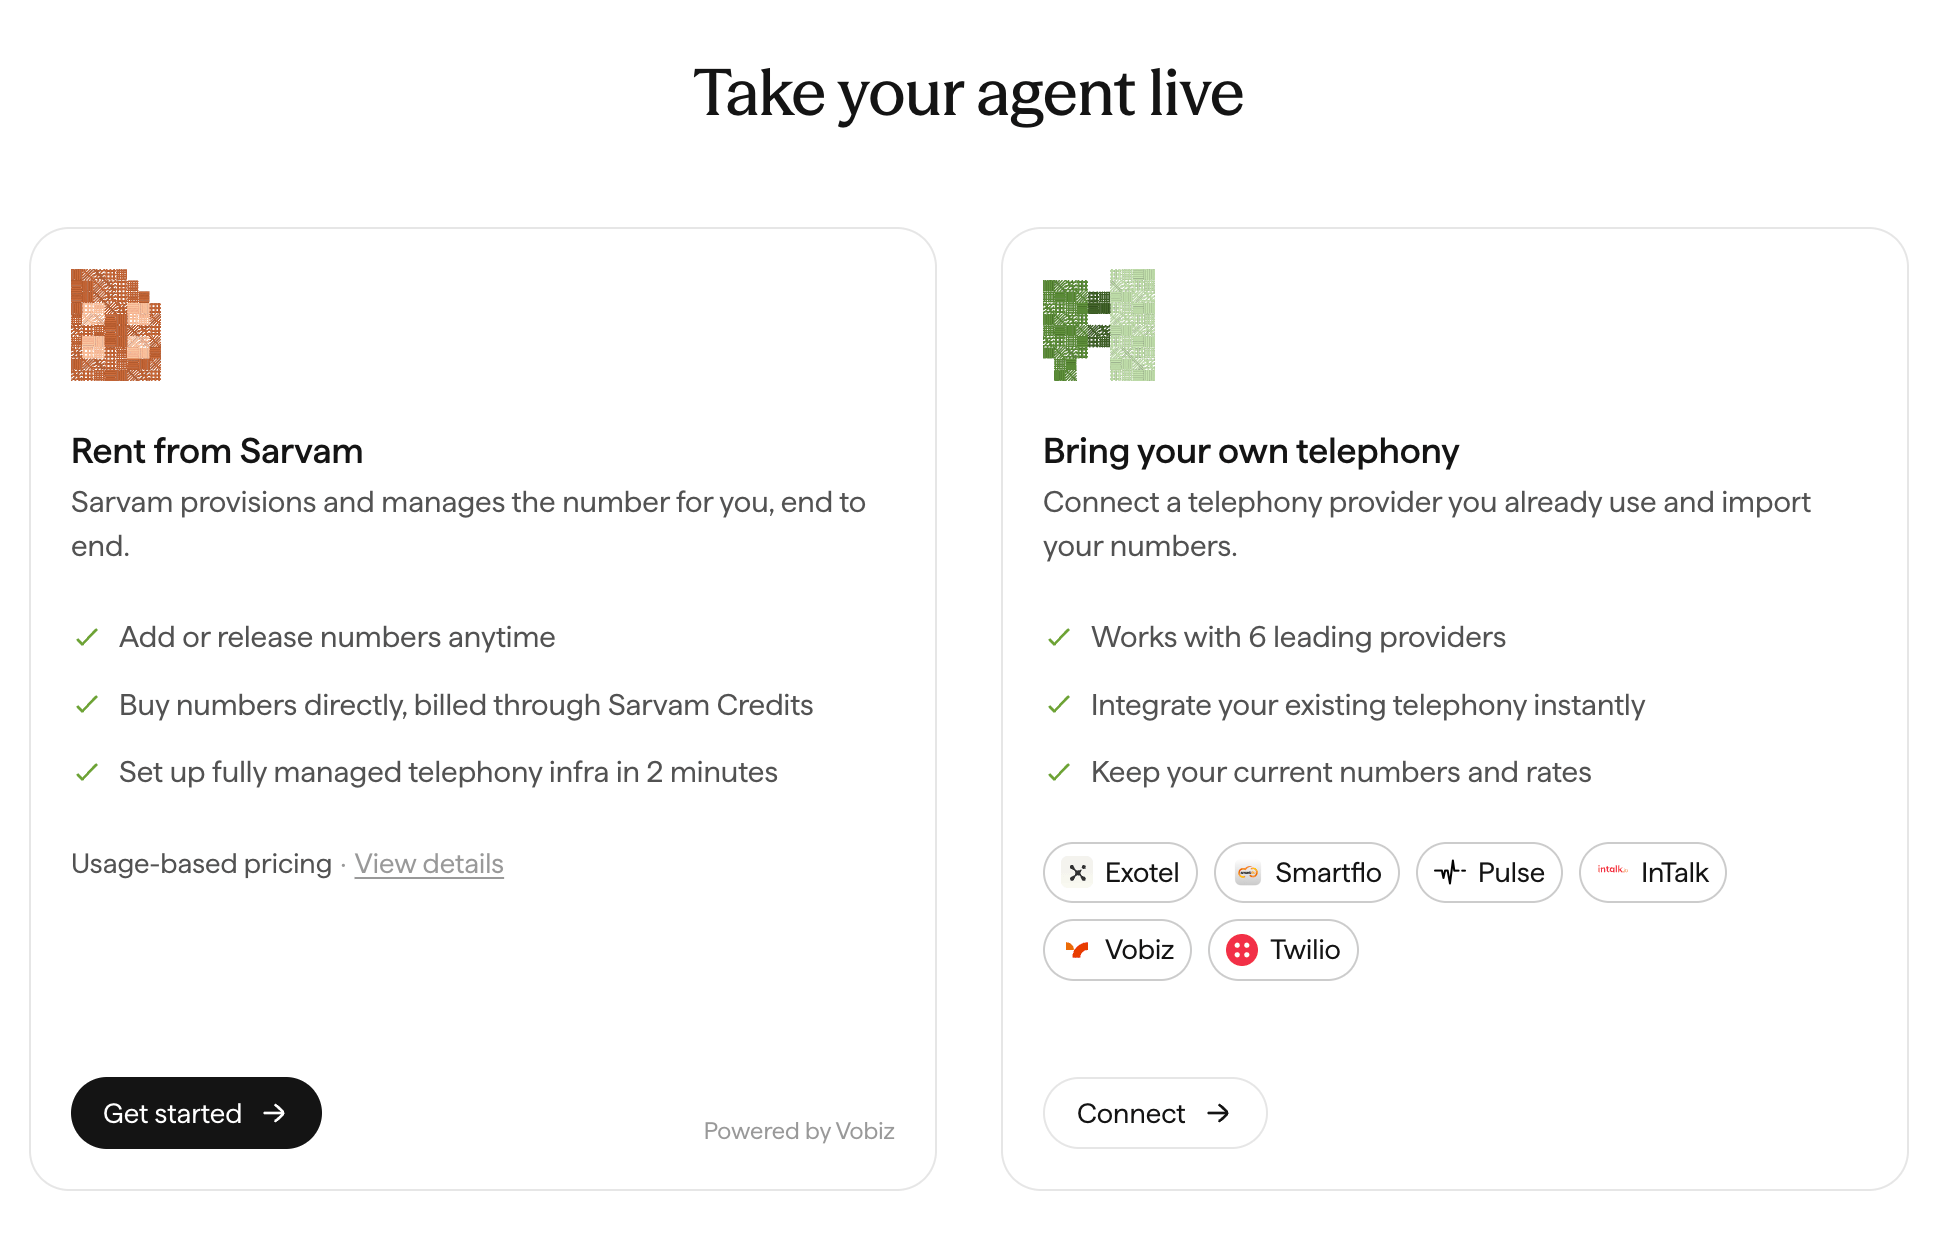
3
Select your business type
Indian phone numbers require KYC before they can be provisioned. Sarvam asks which kind of account you’re verifying.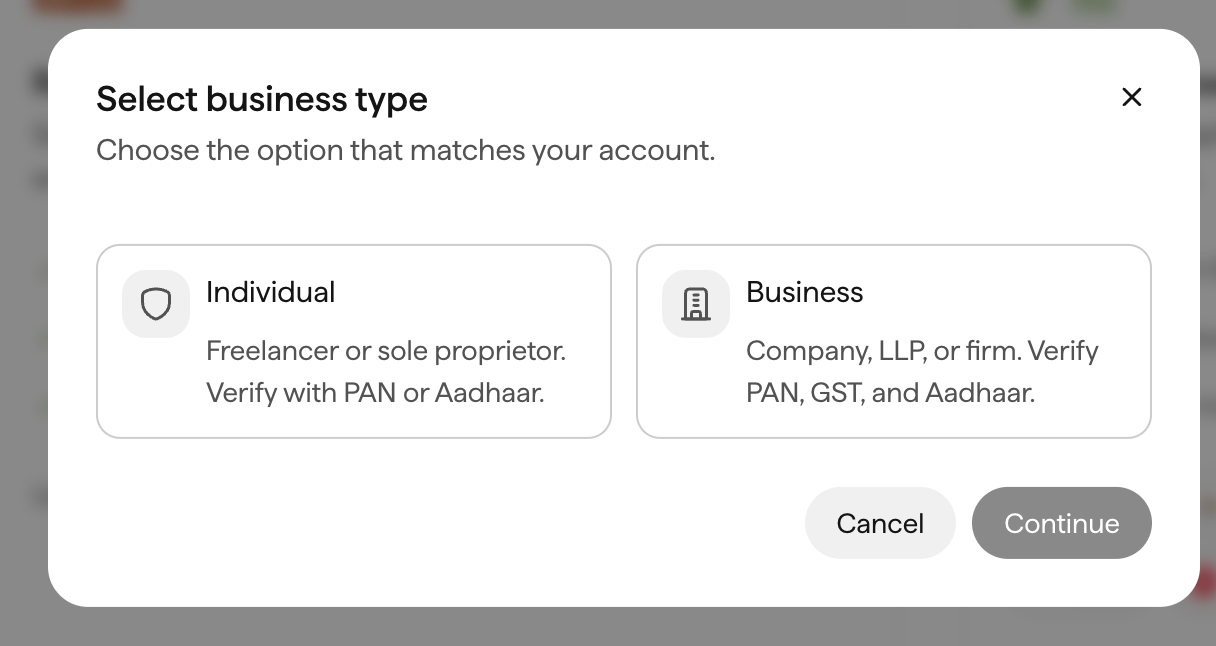
Pick the option that matches your account and click Continue.
4
Complete KYC on Vobiz
Sarvam redirects you to a Vobiz-hosted KYC session. It’s a three-step flow - Type → Verify → Done.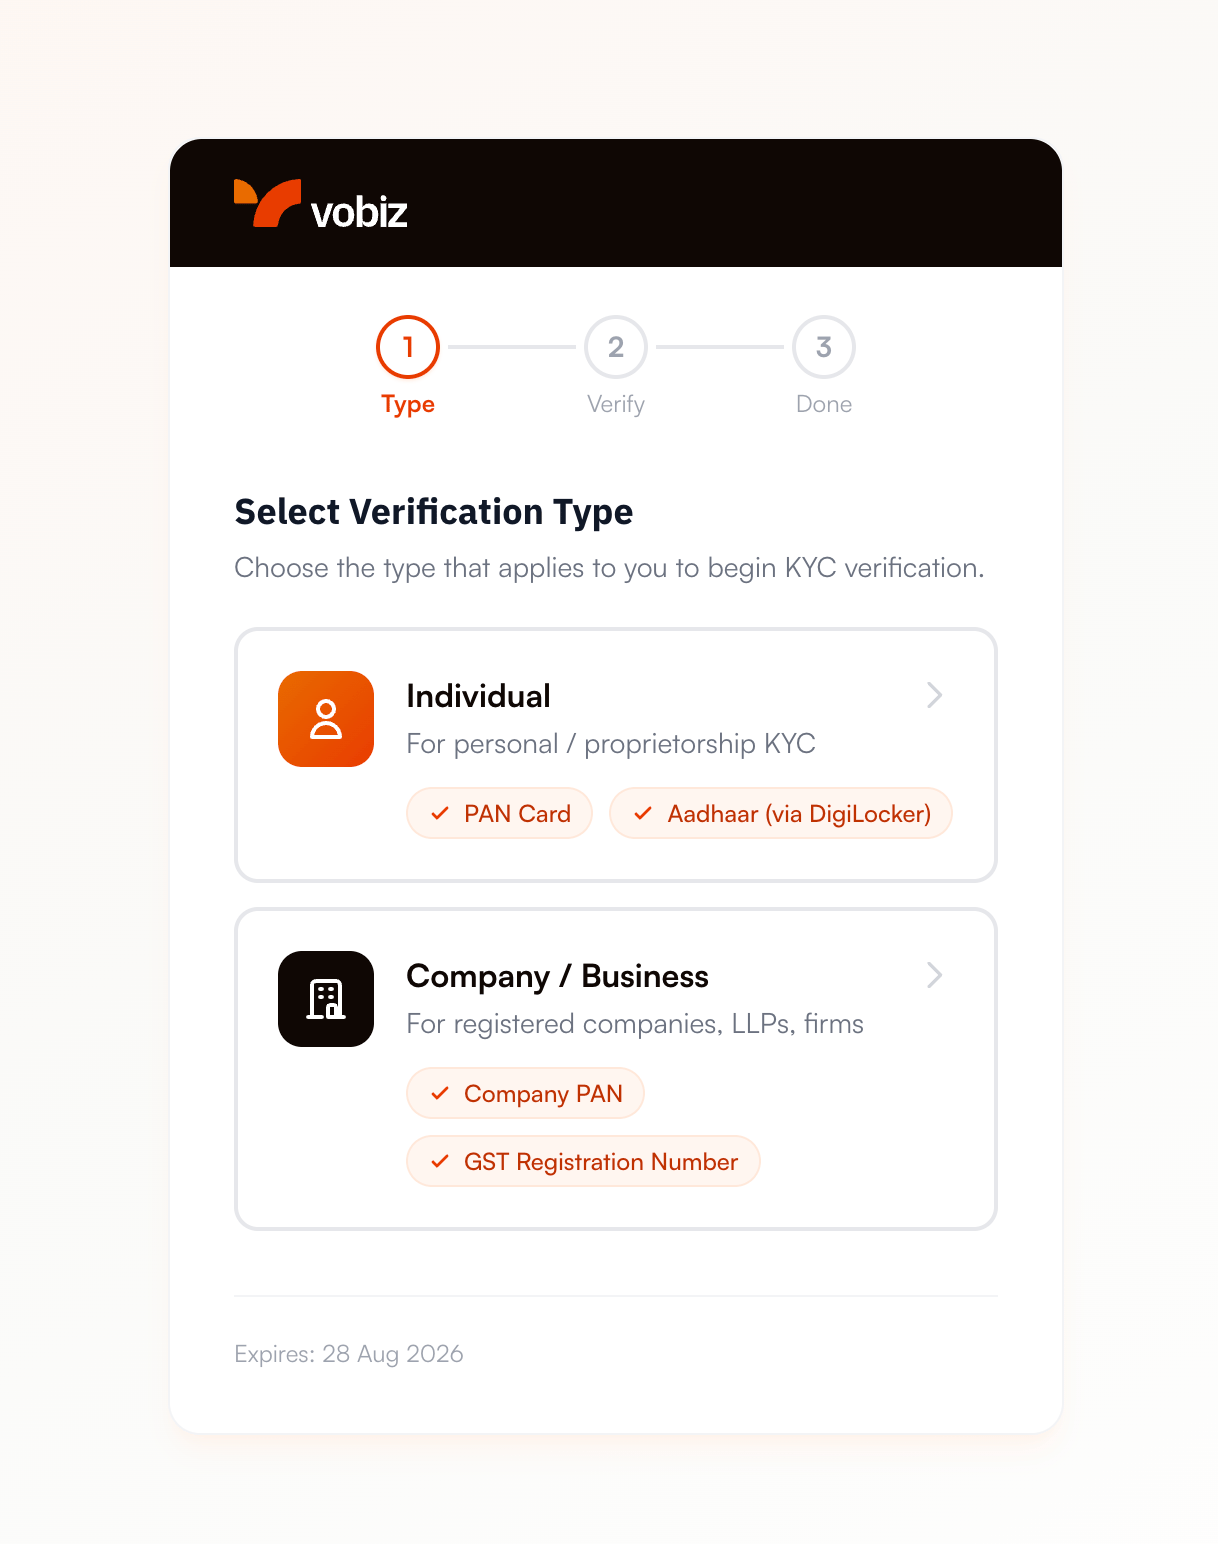
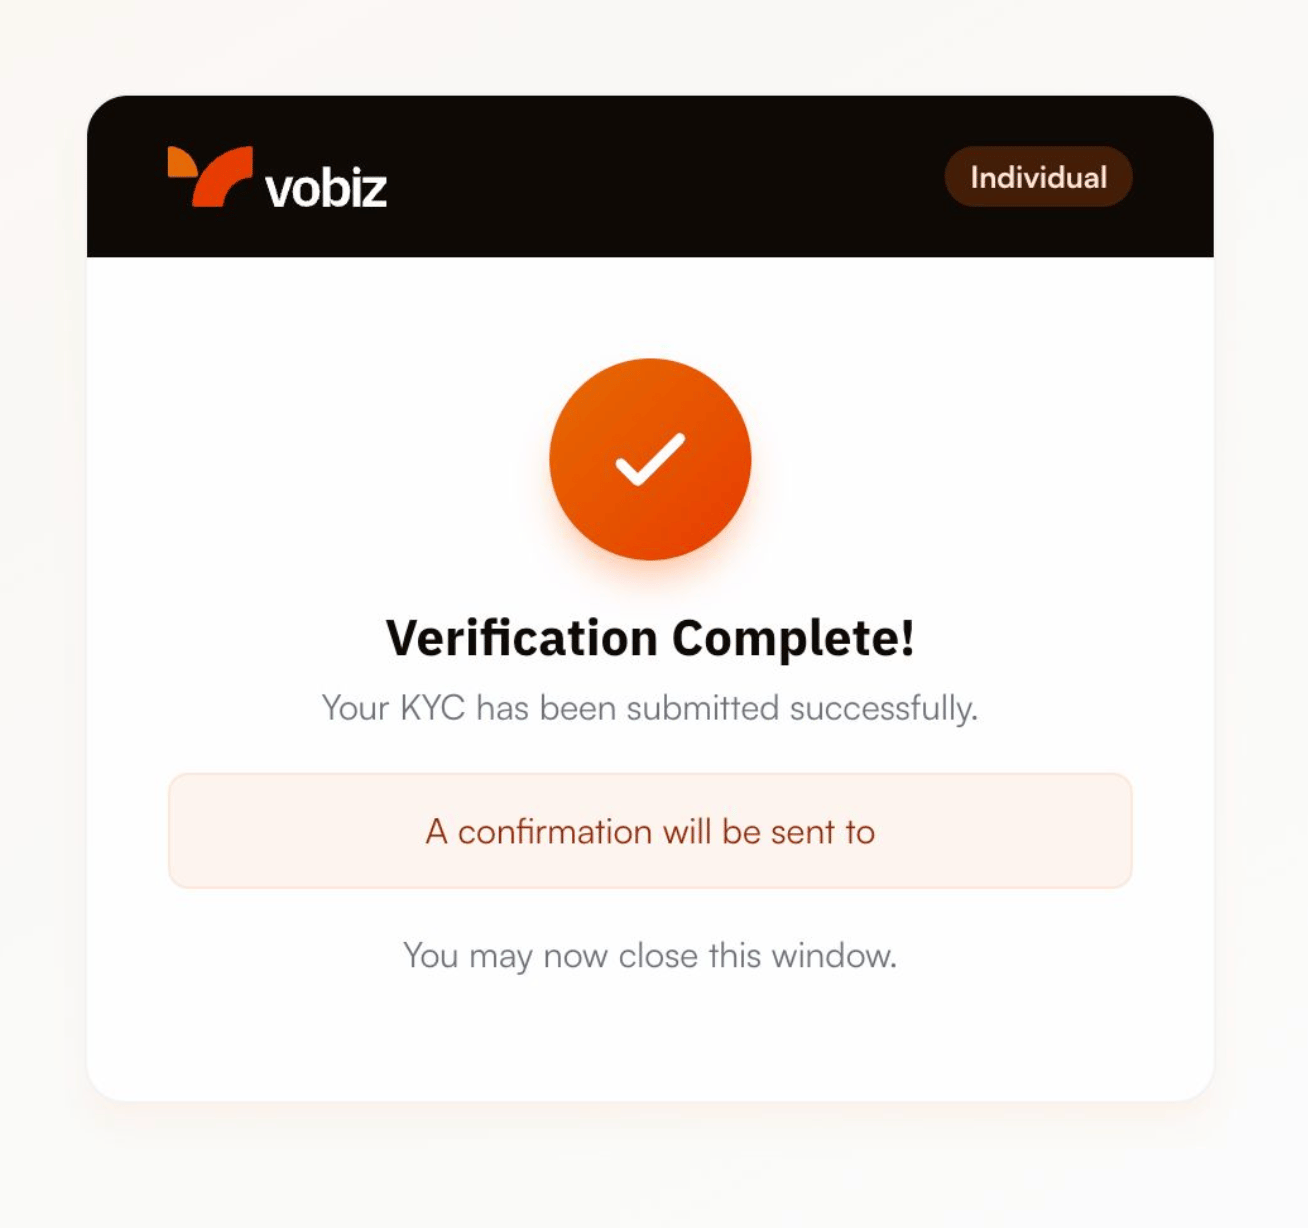
Aadhaar is verified through DigiLocker, so you consent in DigiLocker rather than uploading a scan. Nothing is keyed in by hand.When every document clears, you land on the confirmation screen and a confirmation email goes to the address on the account.
KYC is done. You can close the window and return to Sarvam - number provisioning is now unlocked.
Verification is usually near-instant, but a document can land in a pending state while it’s checked against the source registry. If provisioning is still blocked after a few minutes, refresh the telephony page before retrying. Background on how this works: Sub-Account KYC and KYC for India.
5
Buy a phone number
With KYC cleared, open the buy-number dialog from the Phone Numbers section and pick from the available inventory. Each row shows the number, its region, and the monthly fee.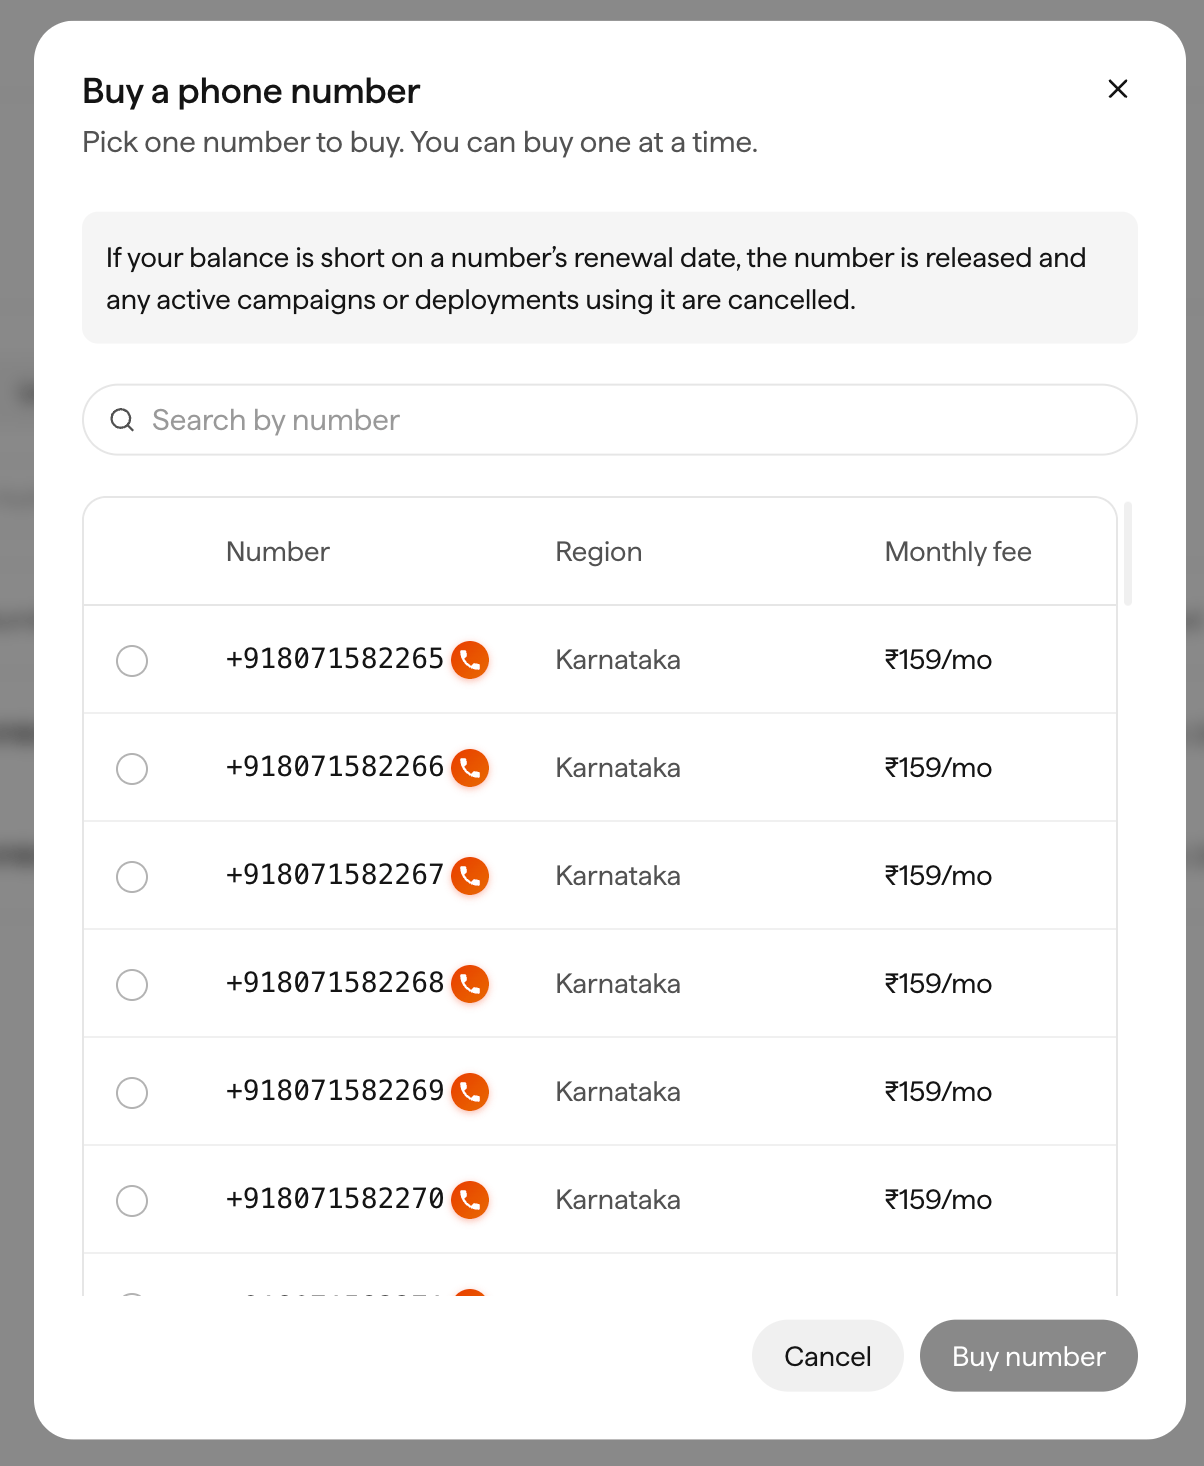
6
Launch an outbound campaign
Go to Deploy → Outbound Campaigns and create a campaign. Vobiz is already wired up, so the number you just bought is available immediately - no trunk setup, no credentials to paste.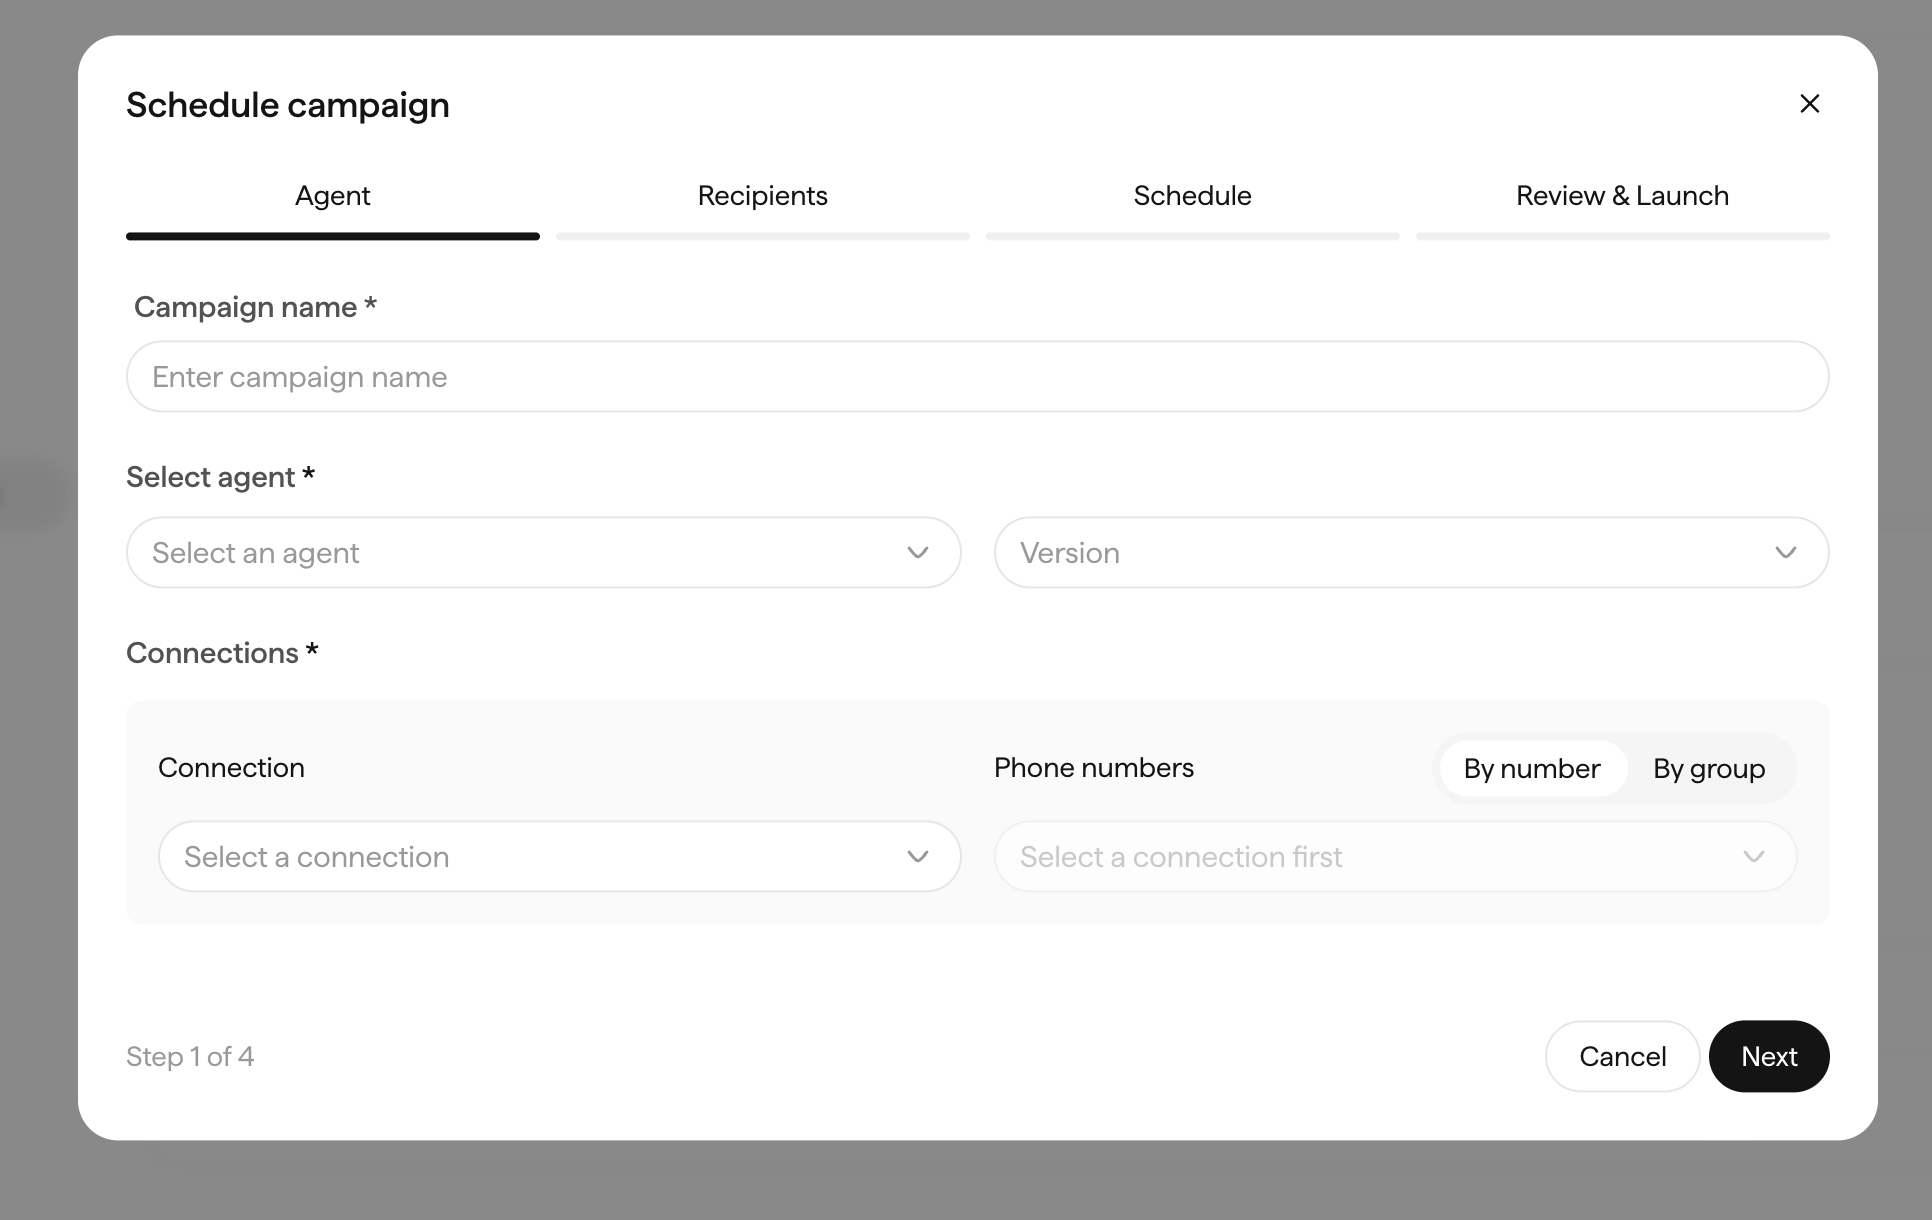
Then add recipients, set the schedule, review, and launch.
For outbound calling in India, dial-rate pacing and number rotation have a real effect on connect rates and on how carriers treat your numbers. Worth reading before a large campaign: Number utilization, Number health, and UCC / DLT regulations.
7
Deploy an inbound agent
To have an agent answer calls, go to Deploy → Inbound Calls and create a deployment.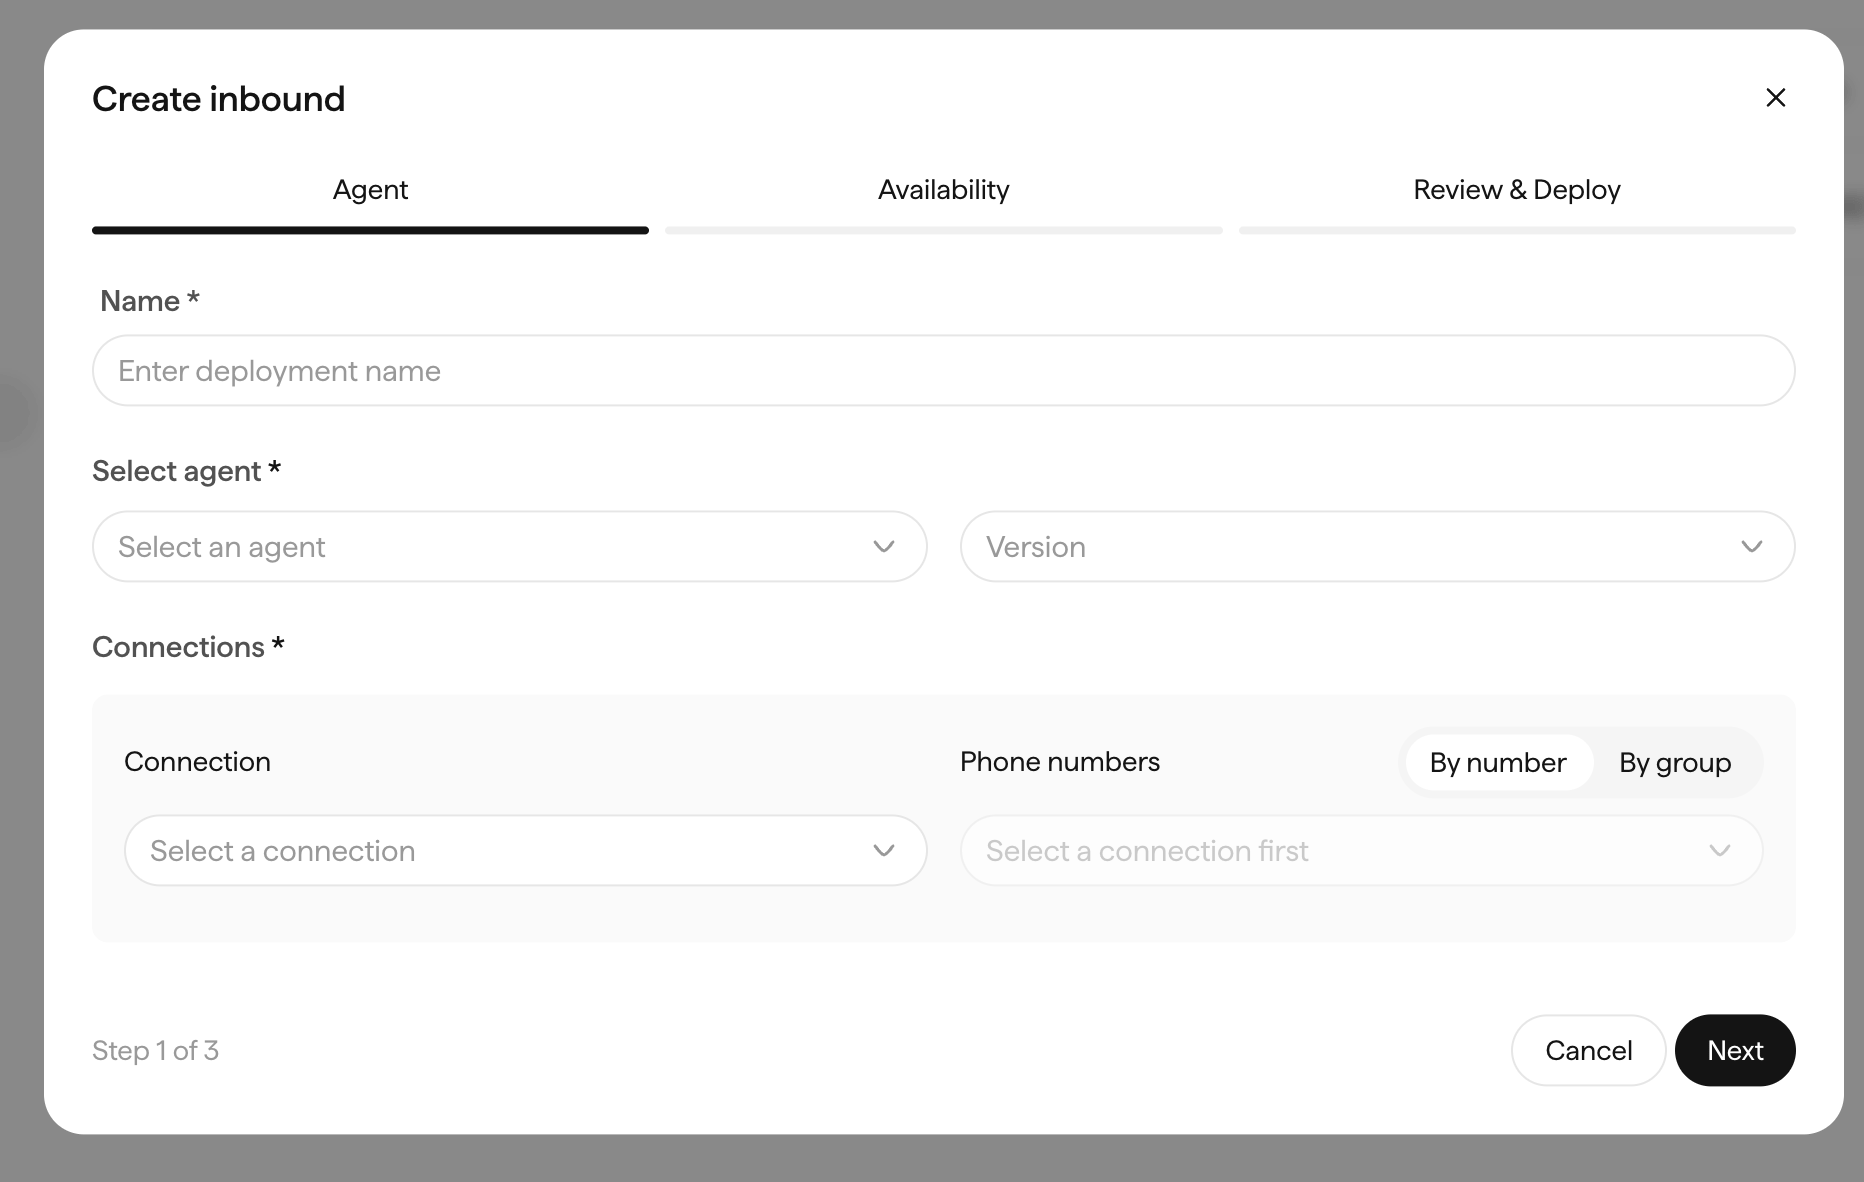
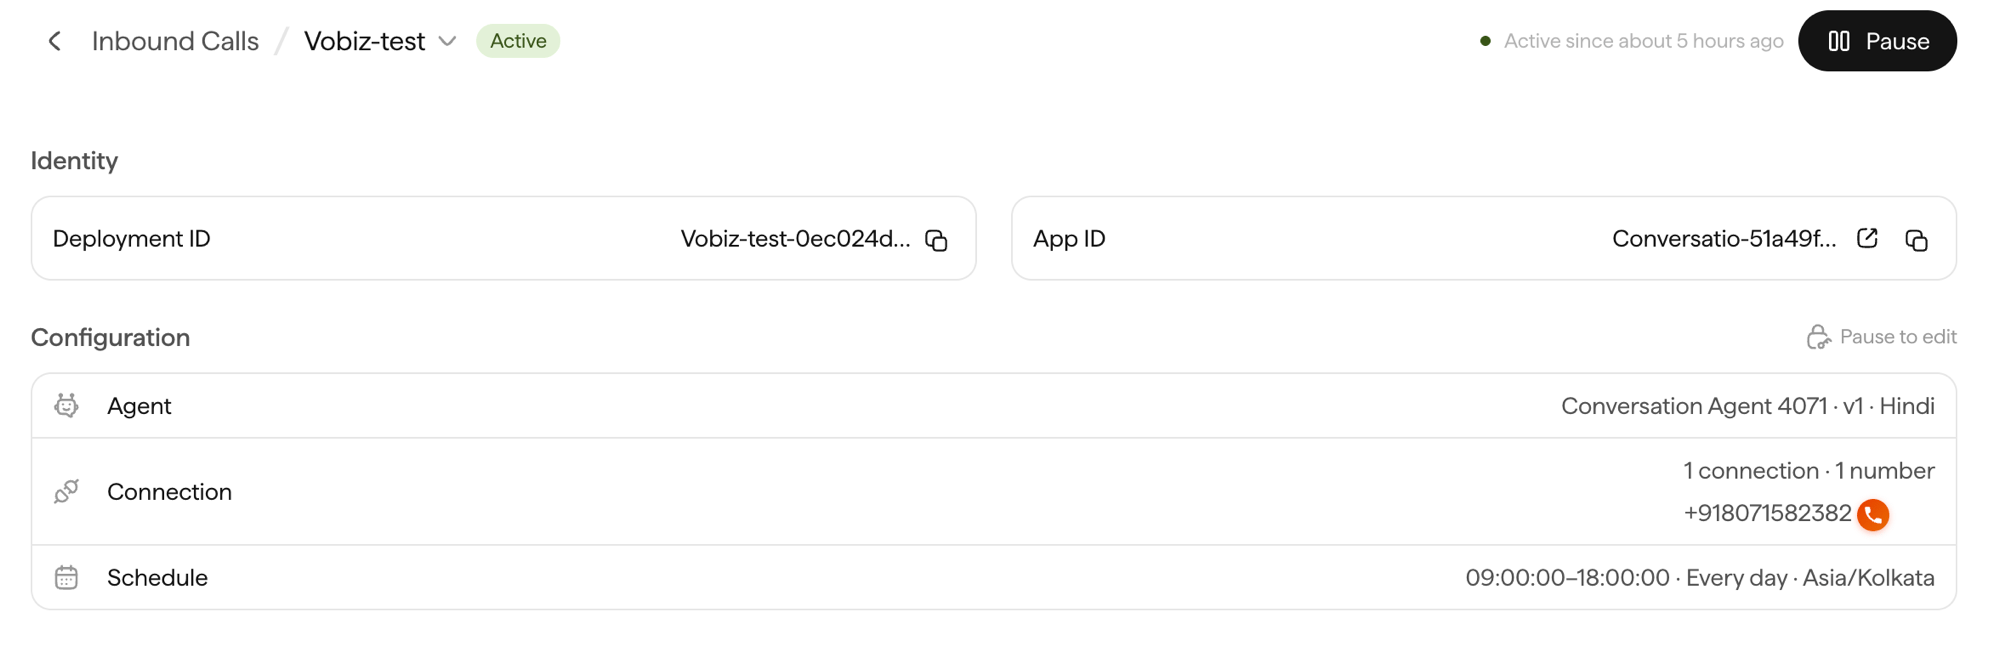
Call the number. Your agent picks up, and Vobiz carries the audio both ways.
Connect an existing Vobiz account
Already have a Vobiz account with numbers on it? Use the Bring your own telephony path instead - you keep your existing numbers and rates, and billing stays with Vobiz rather than moving to Sarvam Credits. No KYC step here either, because your account is already verified. On the Take your agent live screen, click Connect on the Bring your own telephony card, then choose Vobiz.1
Get your credentials
The first tab points you at the two values Sarvam needs. Sign in to the Vobiz Console - your Auth ID and Auth Token are shown directly on the main dashboard.
2
Enter the details
On the Enter details tab, paste both values and name the connection.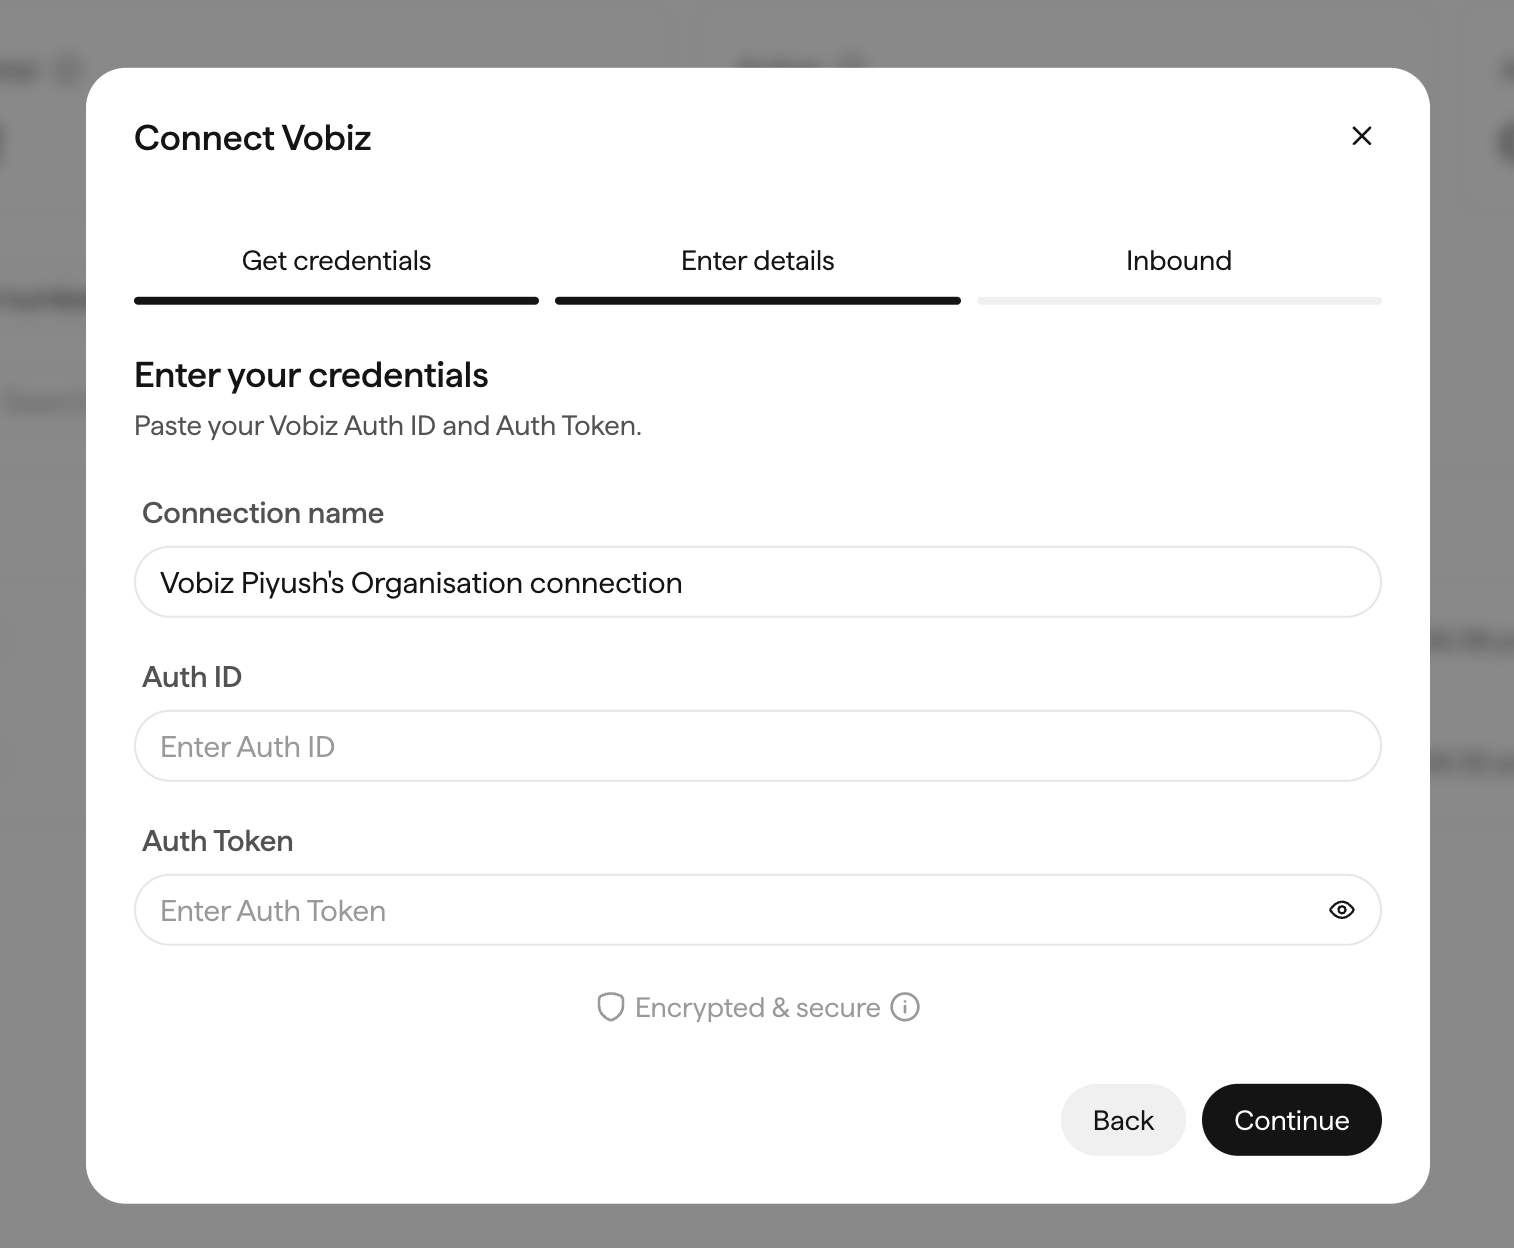
Credentials are stored encrypted. Click Continue.
3
Configure inbound
The final tab sets up inbound so calls arriving on your Vobiz numbers reach a Sarvam agent. Complete it to finish the connection.
The connection is live. Your Vobiz numbers now appear in the Phone numbers picker when you create an outbound campaign or an inbound deployment - steps 7 and 8 above.
Both paths deliver calls over the same Vobiz network. The difference is purely commercial - who provisions the number and who bills you for it.