


Rapida AI can run on different domains because it is open source. In this guide,
<your-rapida-domain> means the base URL of your own Rapida AI deployment.How the integration works
Prerequisites
- Access to a Rapida AI deployment and permission to configure integrations.
- A Vobiz account with an Auth ID and Auth Token.
- An active Vobiz phone number to use as the outbound caller ID or inbound DID.
- Sufficient Vobiz account balance to place the test call.
- A Rapida AI assistant configured with its model, speech-to-text, and text-to-speech providers.
Configure Vobiz in Rapida AI
1
Sign in to your Rapida AI deployment
Open the sign-in page for your Rapida AI instance. If you do not have an account on that instance, click Sign-up, create your account, and then sign in.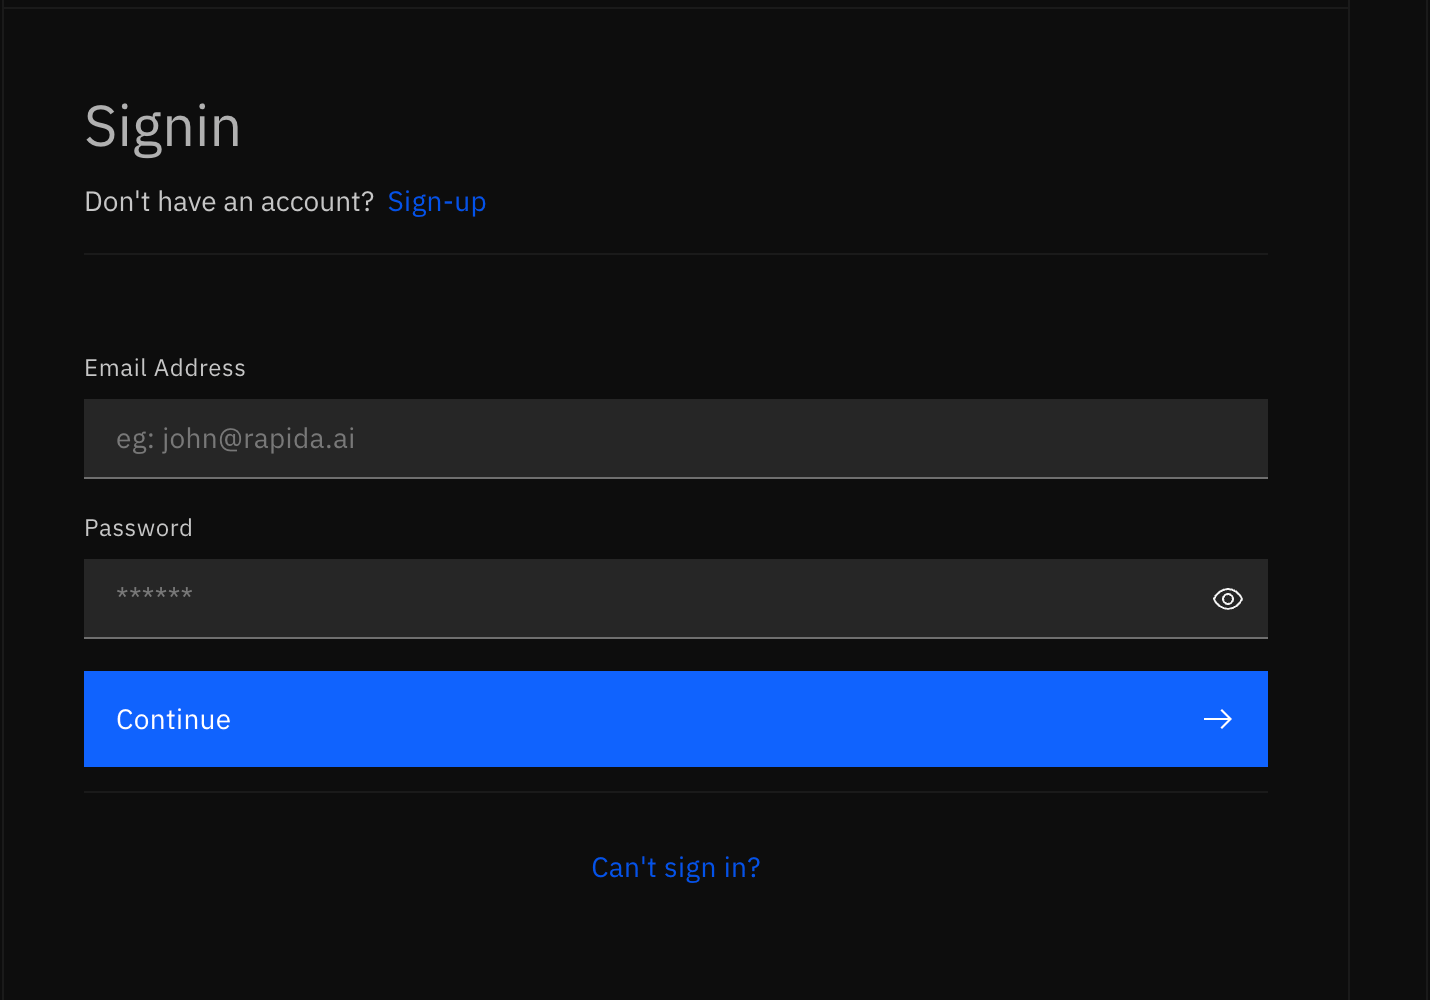
2
Open the integrations model page
In the same Rapida AI deployment, open:Use your own deployment domain. Do not copy another user’s complete Rapida AI URL.
3
Start the Vobiz provider setup
Find the Vobiz provider card and click Setup Credential.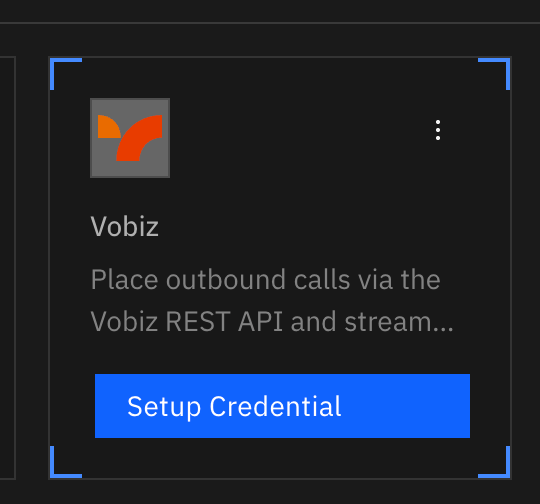
4
Enter your Vobiz credentials
Complete the credential form: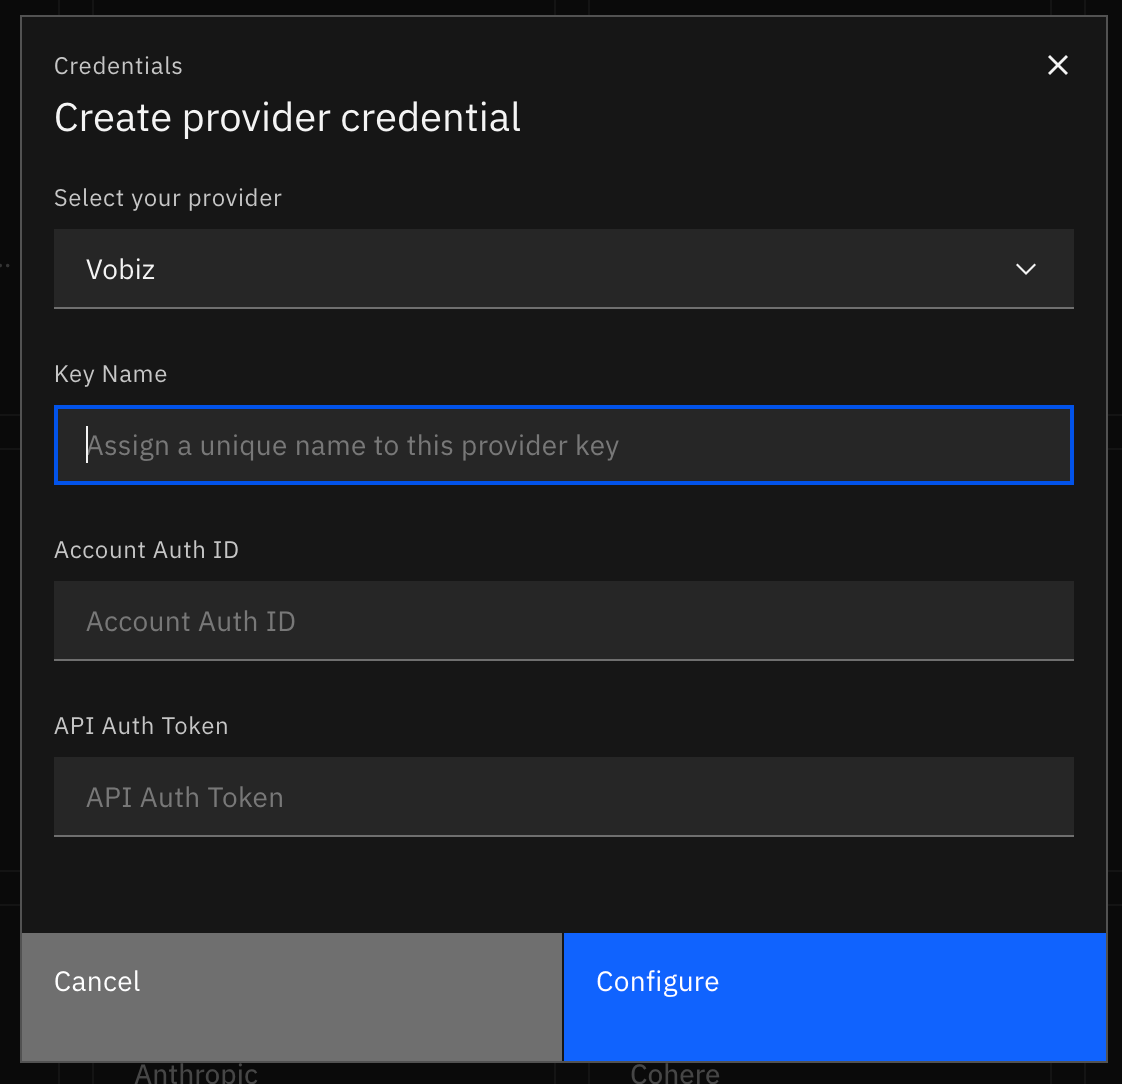
Click Configure.
5
Confirm the provider is connected
The Vobiz provider card displays a green check and Connected after Rapida AI saves and verifies the credential.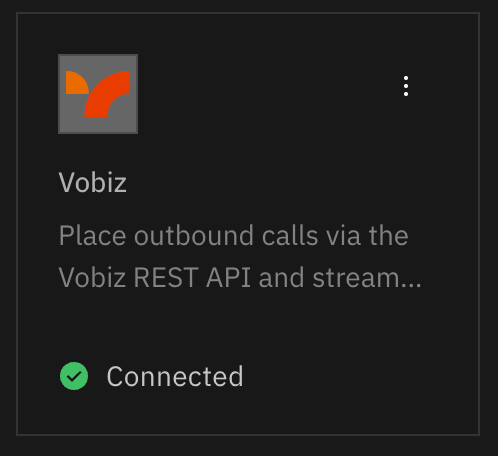
Add Vobiz telephony to an assistant
1
Open the phone-call deployment
Open your assistant, then go to Deployment → Add Phone Call.
2
Configure telephony
In Step 1: Telephony, select: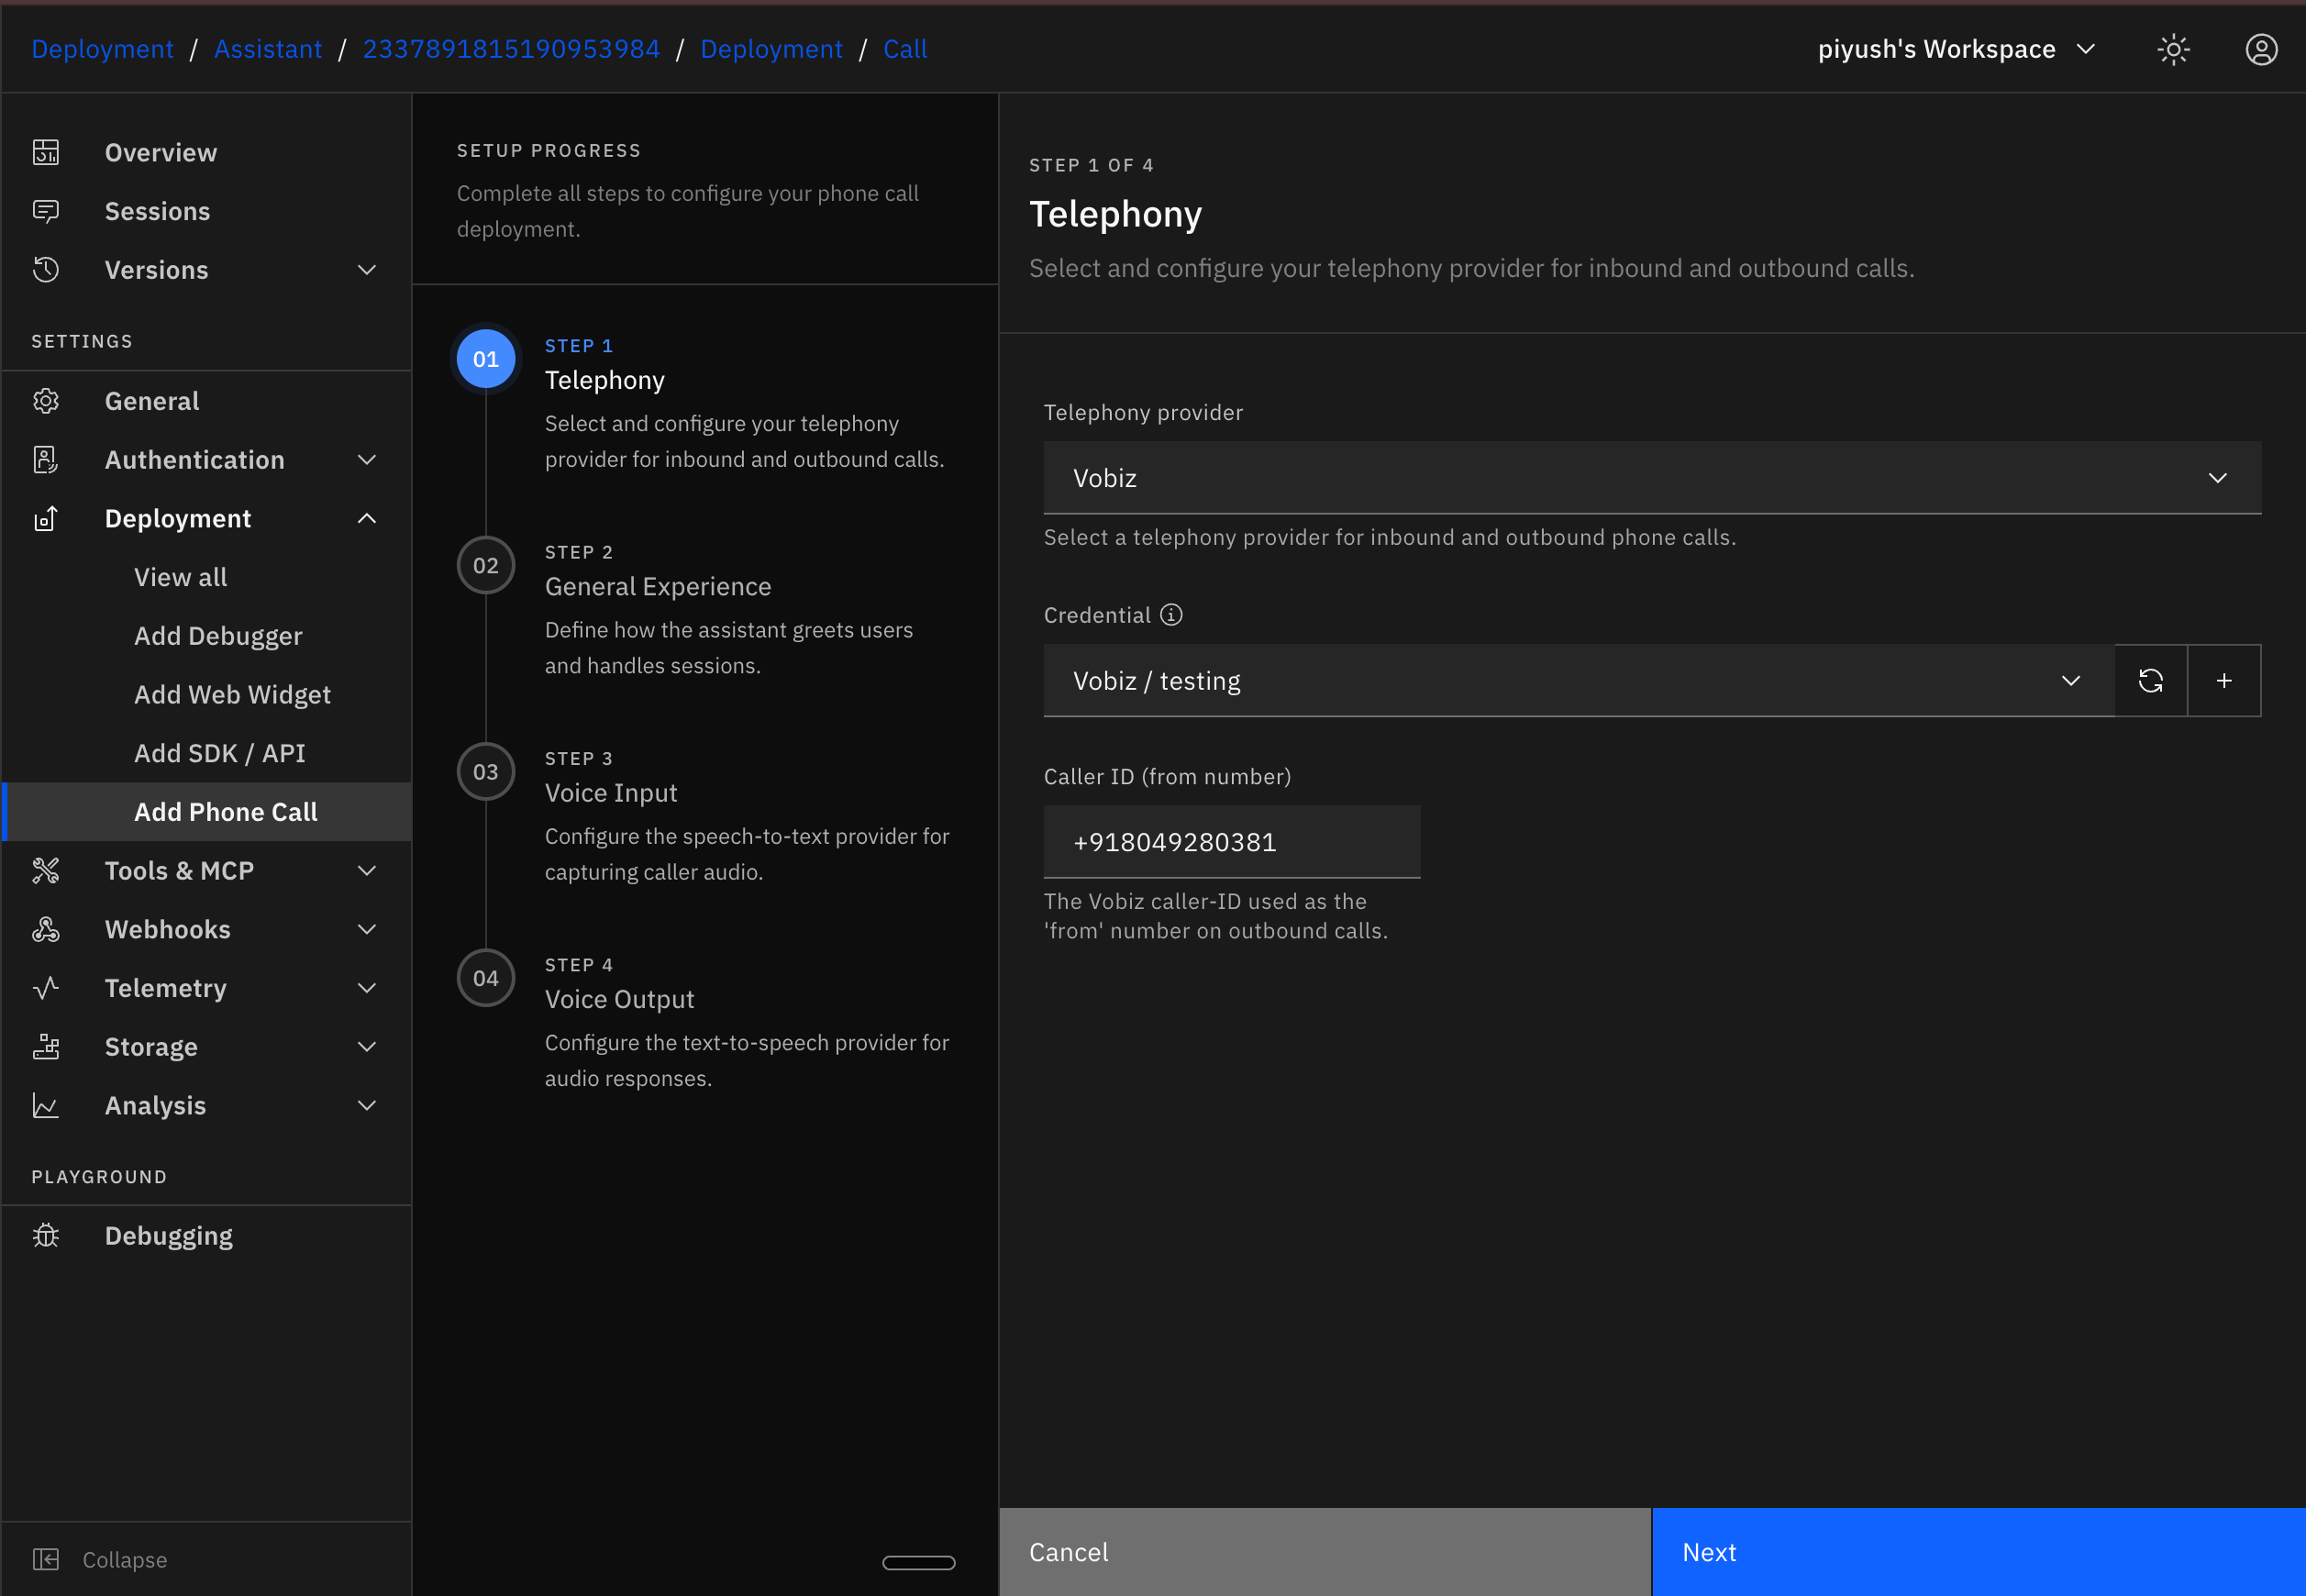
Use the refresh control next to Credential if a newly added credential or phone number does not appear immediately. Then click Next and complete the remaining assistant deployment steps.
The caller ID must be a phone number available in the Vobiz account connected by the selected credential. Use the international E.164 format, such as
+919876543210.Place an outbound test call
1
Open the phone preview
Open the assistant’s phone preview or debug phone-call view. Confirm that the configuration panel shows 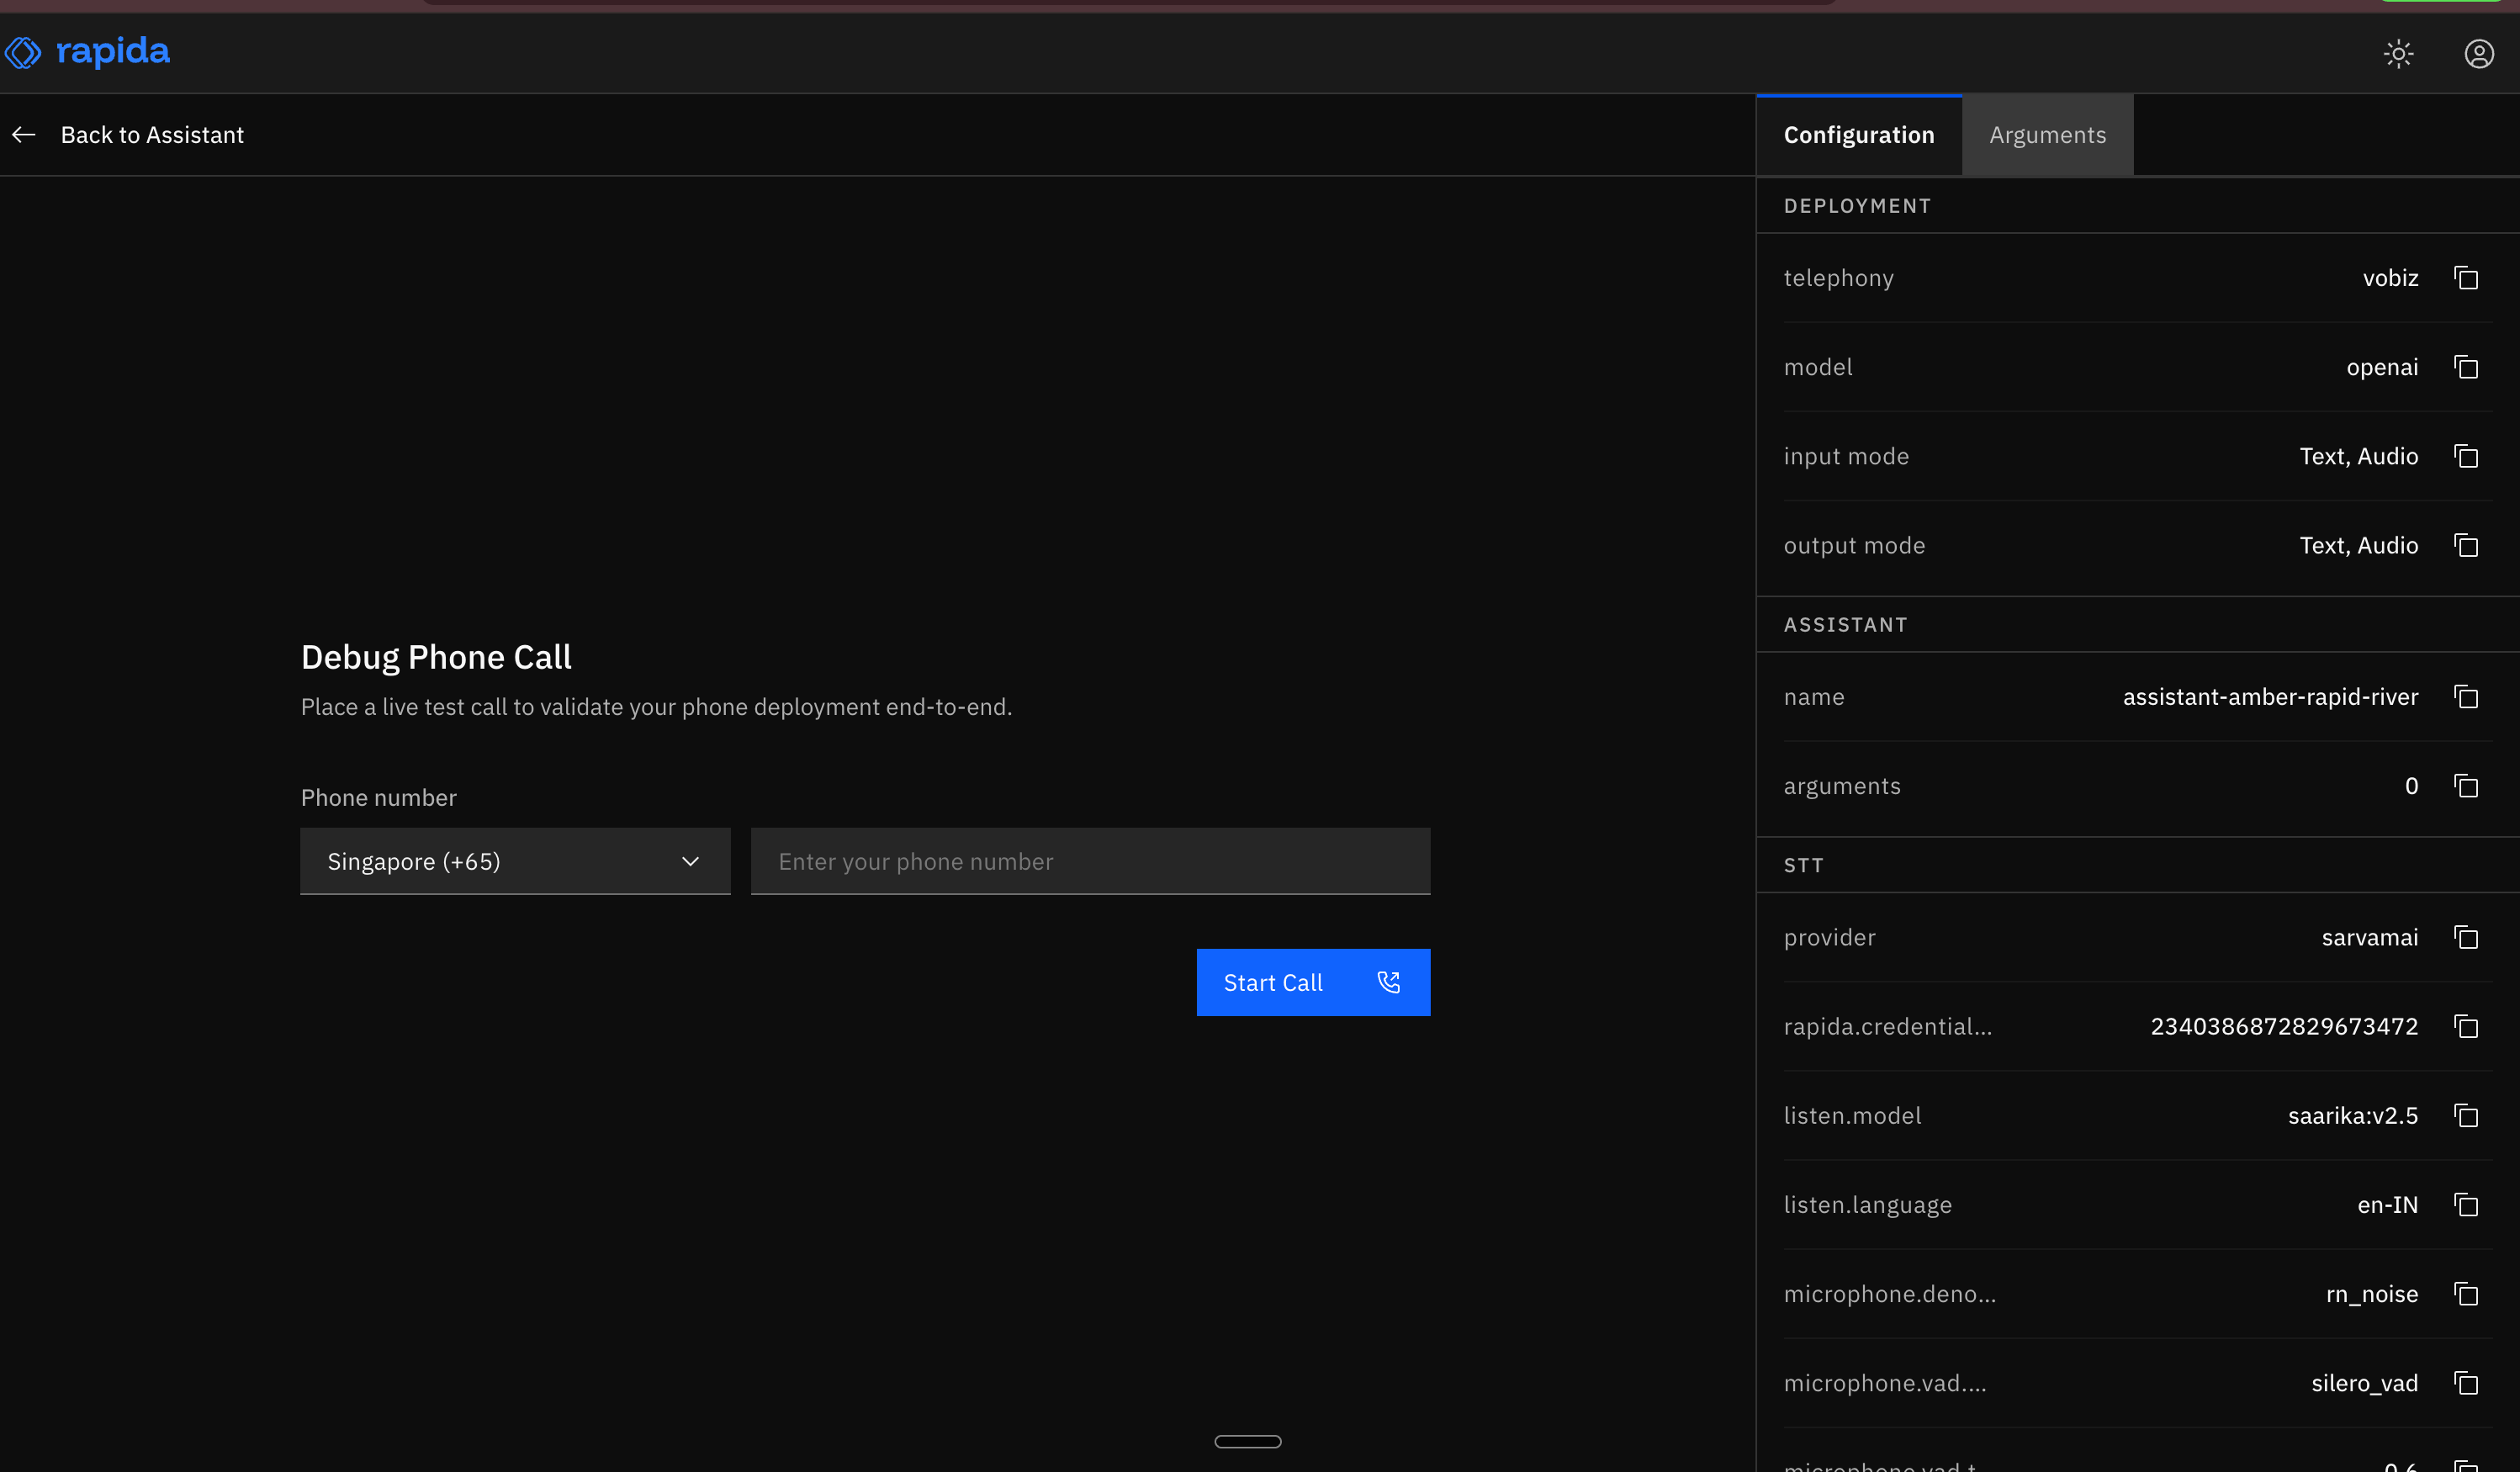
vobiz as the telephony provider.2
Enter the destination number
Select the destination country, enter the phone number, and click Start Call. Rapida AI asks Vobiz to create the outbound call and connects the assistant through the Vobiz WebSocket audio stream when the call is answered.
3
Confirm the call was created
A green success message confirms that the call was created. Answer the destination phone and speak with the assistant to verify the complete audio path.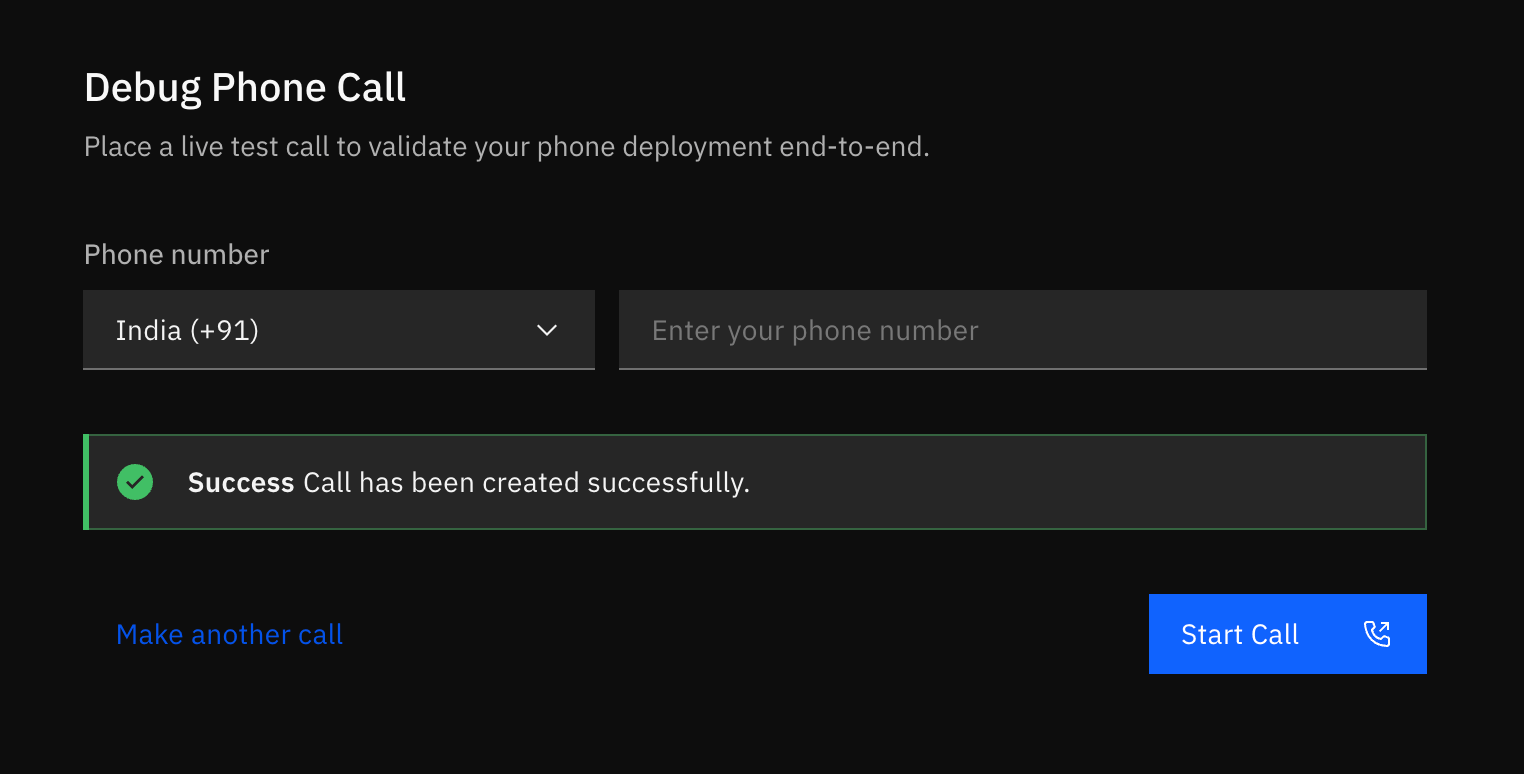
Your Rapida AI assistant can now place outbound calls using a Vobiz phone number and exchange live audio over the Vobiz WebSocket stream.
Receive inbound calls
For inbound calling, attach a Vobiz phone number to an XML Application whose Answer URL points to the Rapida AI phone deployment.1
Copy the Rapida AI inbound webhook URL
In Rapida AI, open your assistant and go to Deployment → View all. Select the phone deployment, open the Integration tab, and copy the complete Inbound Webhook URL.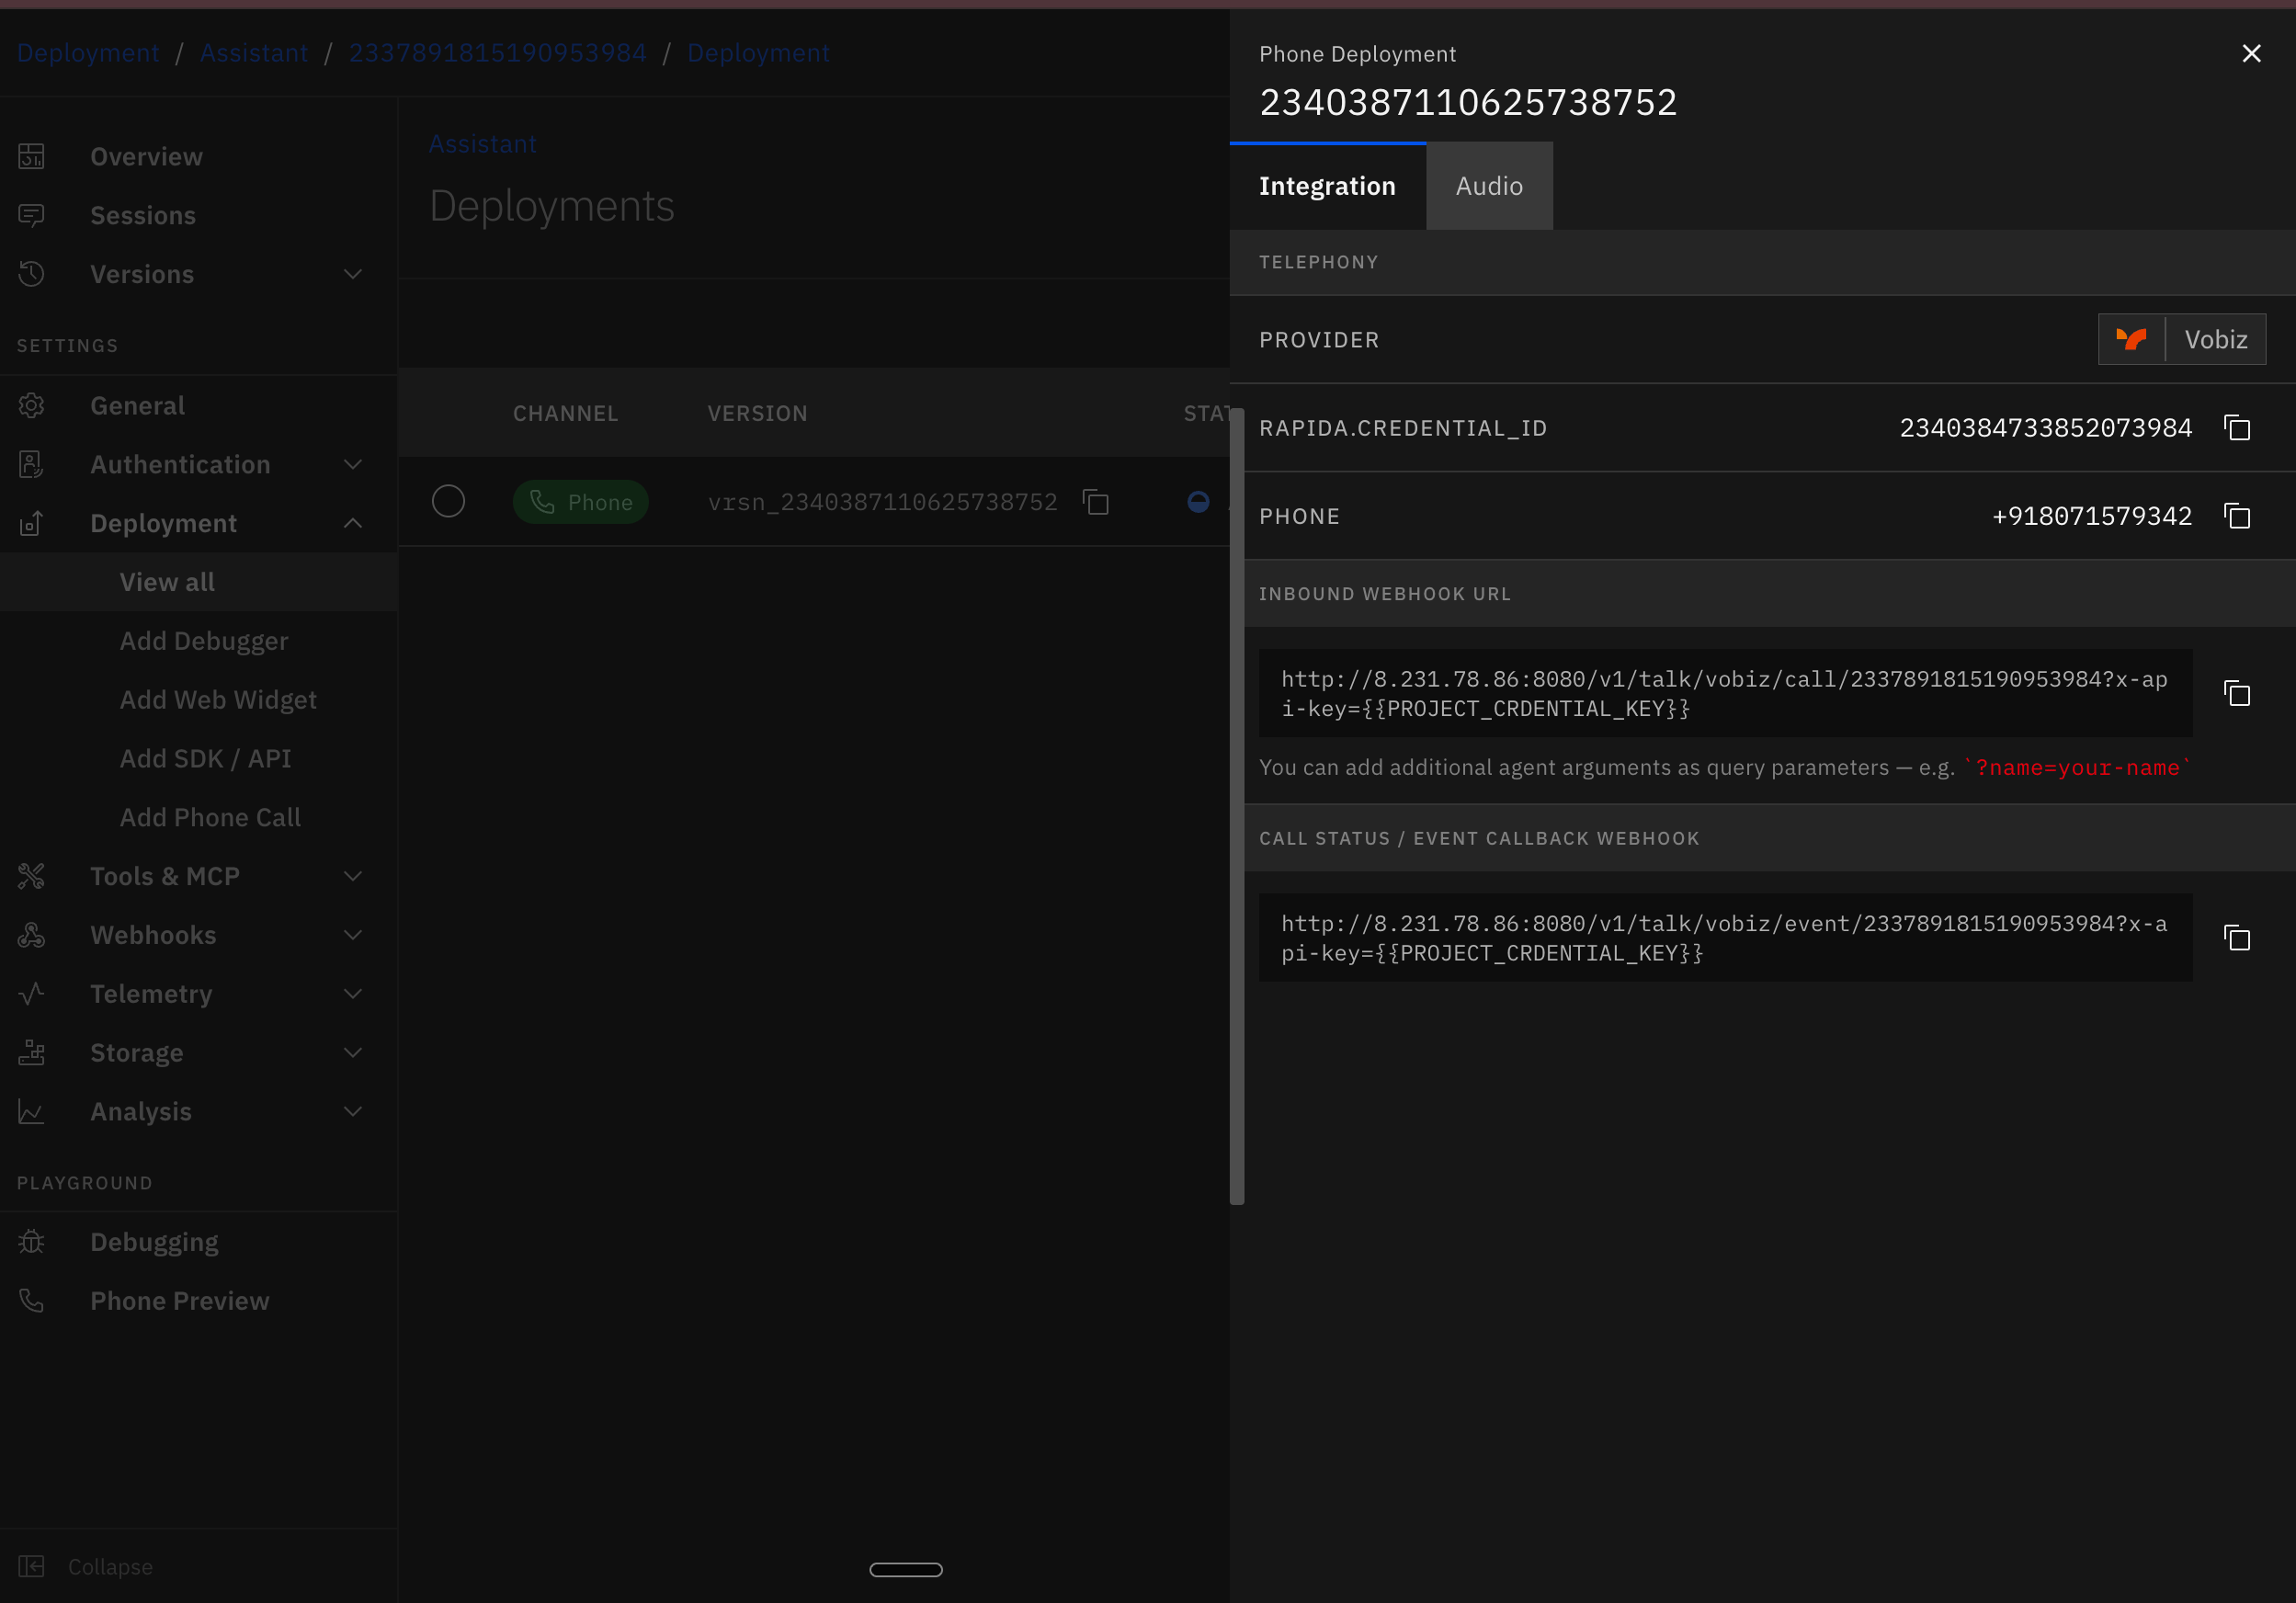
2
Create a Vobiz XML Application
Open Voice Applications in the Vobiz Console and click Create XML Application. Configure these fields:
If you want Rapida AI to receive call status and completion events, copy the Call Status / Event Callback Webhook from the same Rapida AI deployment panel into Hangup URL and keep its method set to
POST.Leave Default Number App, Public URI, and Default Endpoint App disabled when you plan to attach a specific number in the next step. Then click Create Application.3
Attach a Vobiz phone number
Open the XML Application you created. In Attach Number, select the Vobiz phone number that callers should dial and save the change.Attaching the number routes its inbound calls to the application’s Rapida AI Answer URL. For the API equivalent, see Attach a number to an application.
4
Test the inbound call
Call the attached Vobiz number from another phone. Vobiz requests the Rapida AI Answer URL, Rapida AI returns the call instructions, and Vobiz opens the bidirectional WebSocket audio stream to the assistant.Answer and audio behavior depend on the model, speech-to-text, and text-to-speech settings saved in the Rapida AI phone deployment.
The attached Vobiz number now routes inbound calls to your Rapida AI assistant.